Components
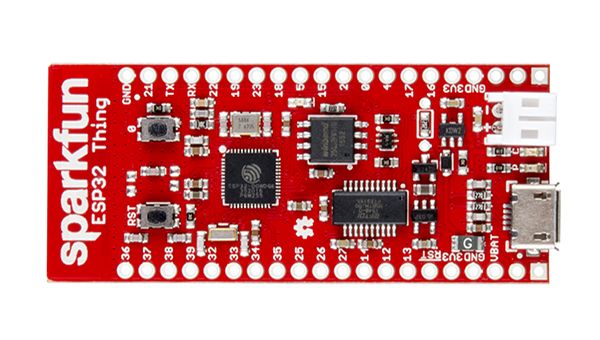
SparkFun ESP32 Thing
Micro USB to USB cable
Setup Your Environment
Arduino IDE
Install the Arduino IDE (Integrated development environment). You can download it for Mac OS X, Windows and Linux here.
Detailed instructions can be found below:
Installing the board definitions
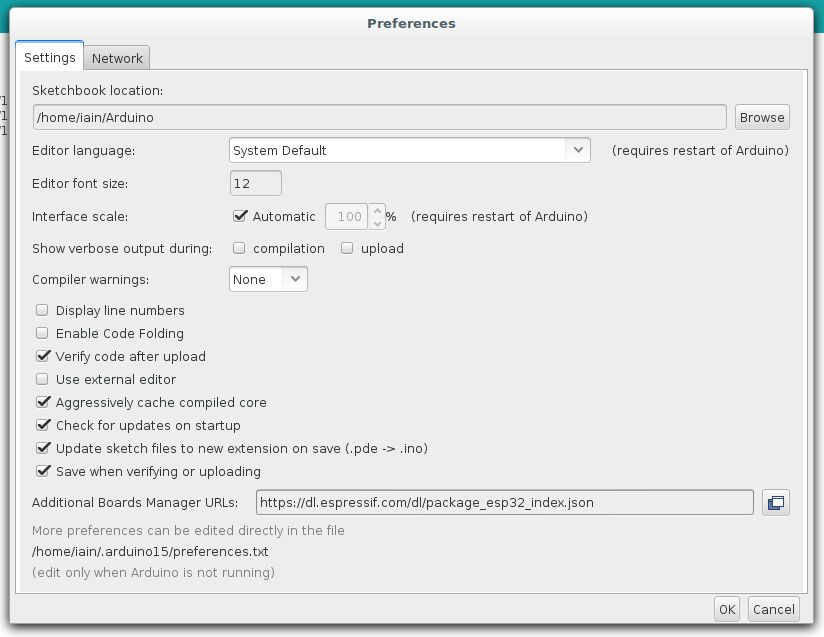
Start the Arduino application and open
PreferencesEnter
https://dl.espressif.com/dl/package_esp32_index.jsoninto theAdditional Board Manager URLsfield. If you need more than one, they can be separated with commas
Go to
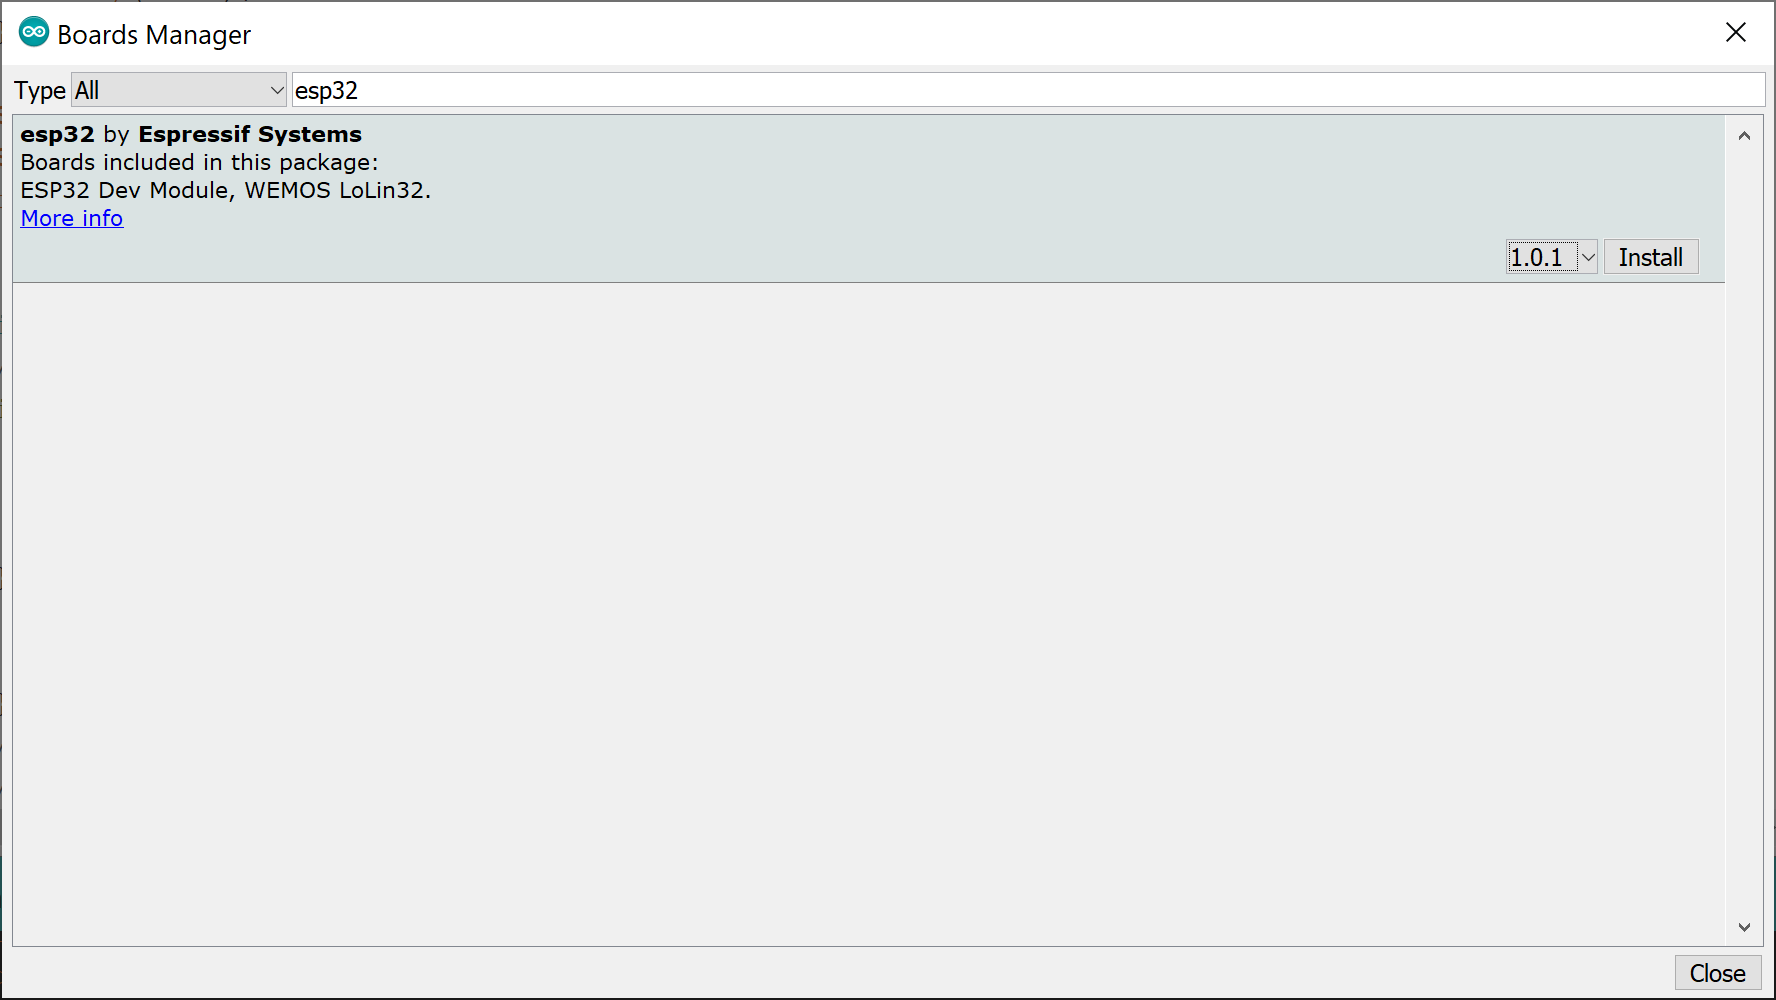
Tools > Board > Boards ManagerSearch for
esp32.When found, select version
1.0.1and clickInstall.
Our sketches do not compile successfully with ESP32 Board libraries higher than 1.0.1. Therefore it is recommended to use 1.0.1.
Selecting the board and port
Once you've got it connected to your computer, get the name of your device's port using one of the following steps:
Linux and Mac OS X
Open a terminal window and run the command
ls /dev/tty*Look for a device with the name that begins with
/dev/ttye.g./dev/tty.usbmodemPy343431or/dev/ttyUSB0.
Windows
Download and install the FTDI drivers from here.
Open the Windows start menu and search for 'Device Manager'
The COM port for the ESP32 device will be listed as 'USB Serial Device' or something similar
Keep note of the COM port (e.g. COM4)
Select the
ESP32 Dev Moduleboard type by going toTools > BoardSelect the port that matches from above
Check that Upload Speed is set to 115200
Create the Sketch
Click on
File > Newto create a new SketchCopy and paste the publish event example code below in place of the empty
setup()andvoid()functions
Replace the following values of the following variables:
ssid- with your WiFi network namepassword- with your WiFi network passworddevice_secret_keywith your device secret key from the Wia Dashboard (the one that begins withd_sk)Verify/Compilethe code. If it runs correctly then go toSketch > Uploadto send it to your ESP-32 Thing
You may need to push the RST(Reset) button to run the code on the board.
Viewing you output
Click on button on the right hand of the screen to view your Serial monitor (Denoted in image below)
Make sure the baud rate is set to
1152000(Shown in red rectangle in image below)
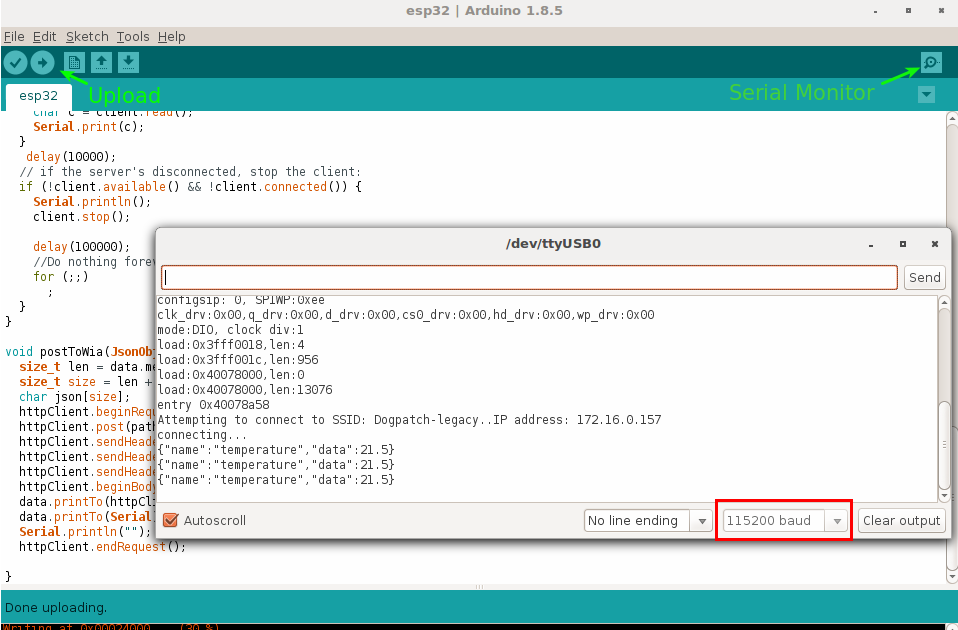
If the Serial monitor doesn't show you connecting to a WiFi, You may need to push the RST(Reset) button to run the code on the board.
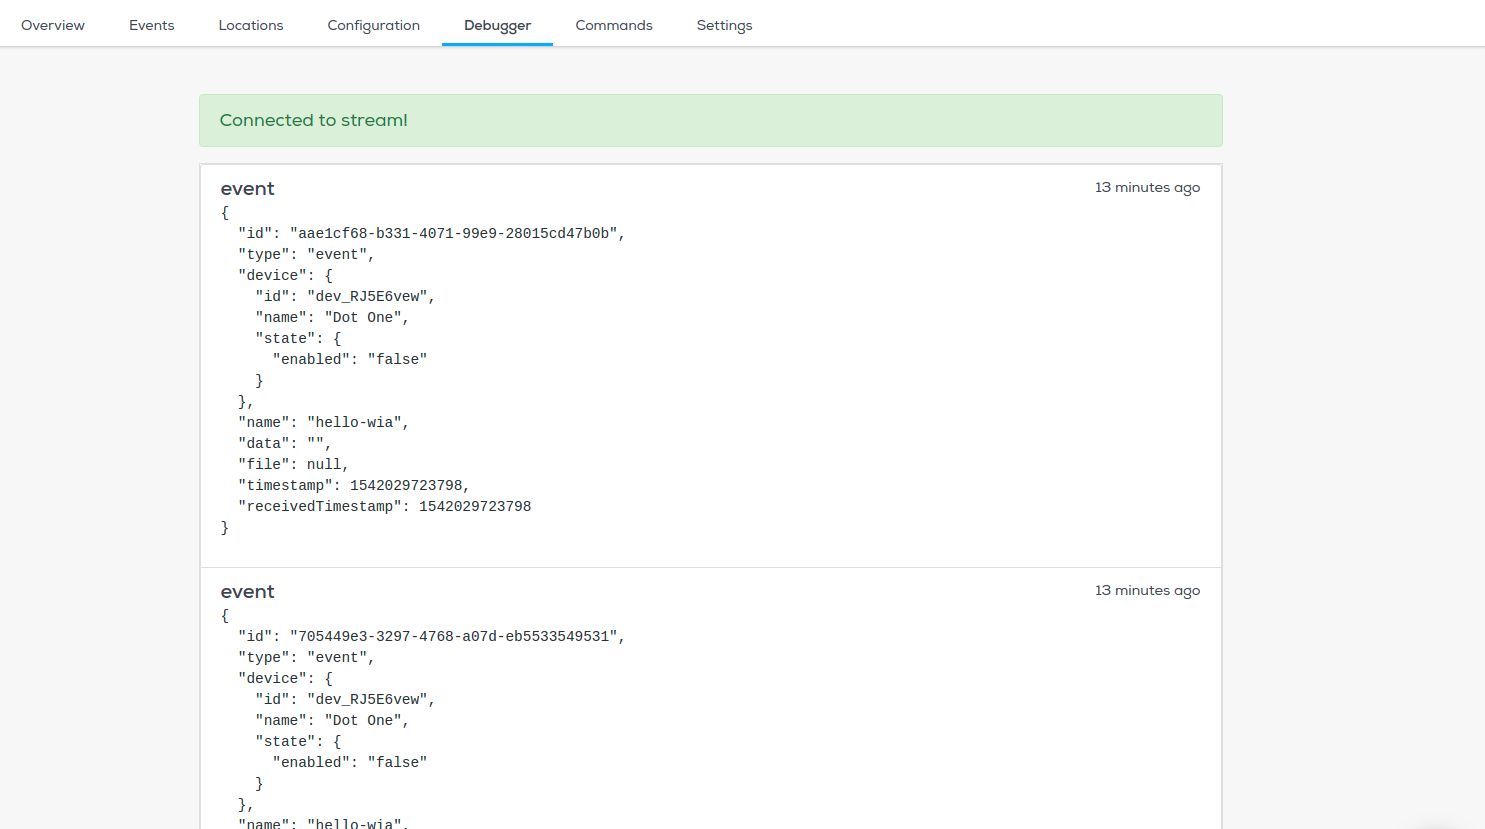
Now go to your device in the Wia dashboard and you should see the data appearing in the debugger.