Components
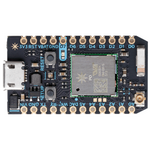
Particle Photon
Micro USB to USB cable
Setup Your Environment
Go to https://login.particle.io/login and log in or create an account.

Connecting the Board
Plug the Photon into your computer via the micro USB cable. If the LED is not already blinking blue, hold down the SETUP button until it is. This puts the board in 'listening mode'.
Next, we'll install the Particle CLI (command line interface).
###Mac & Linux
Open a Terminal window, paste in the following line, and press enter.
Check if it has been correctly been installed by typing particle into the terminal, you may need to restart the OS in order for the changes to take place.
If you get a message about installing dfu-util for your OS, make sure you have homebrew installed and run the command again.
###Windows
Download the Windows CLI Installer here and run it. This will install the Particle CLI and all of its dependencies.
Open Command Prompt: mouse over the upper right hand corner of the screen and select "Search", then earch for
cmdin the search box, and click on Command Prompt.
Still in Terminal (or Command Prompt for Windows), type particle setup. Log in with your details from before, and follow the on screen prompts to connect to your WiFi network.
The Security Type is usually WPA2 if a password is needed, or unsecured if no password is needed.

If you get this message: It doesn't look like your Photon has made it to the cloud yet - Select Check again to see if the Photon has connected and hit enter.

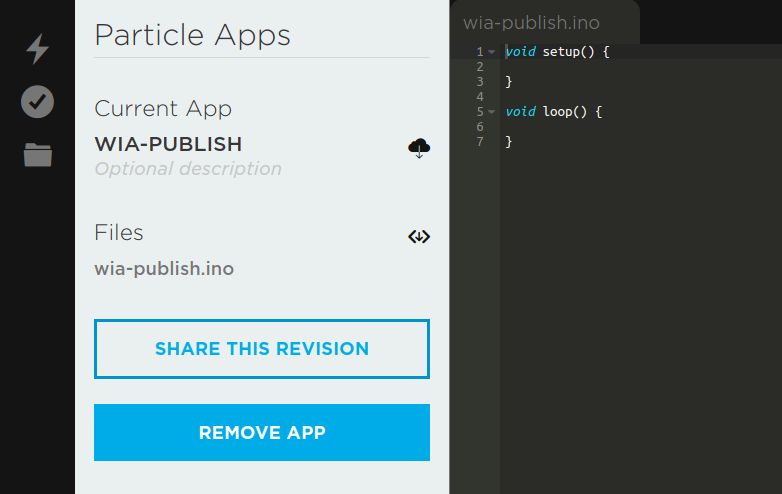
The Code
For this tutorial, we'll use Particle's web based code editor. Visiting this page will bring you to the editor. Enter a title for your project, and hit enter.
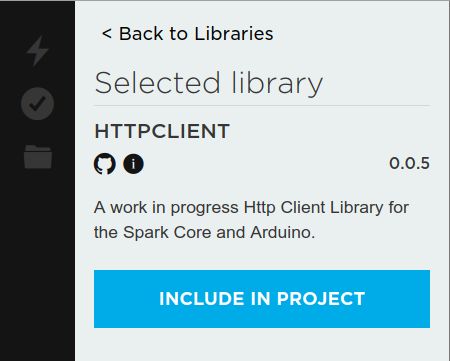
####Required Libraries There is one library required for this code: HttpClient. Click the 'libraries' symbol in the bottom left navigation, and search for HttpClient. Click 'HttpClient', and then 'Include in Project'. Select your project under 'My Apps'.

Next, select all the code and replace it with the below:
Replace your-device-secret-key with your device secret key from the Wia Dashboard (the one that begins with d_sk).
Flash the Board
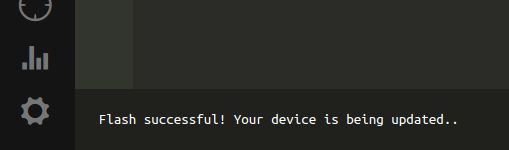
Click the tick symbol on the left navigation to compile the code and make sure there are no errors. Next, click the lightning bolt symbol to upload the code to your Photon. You should see a 'flash successful' message at the bottom of the screen.
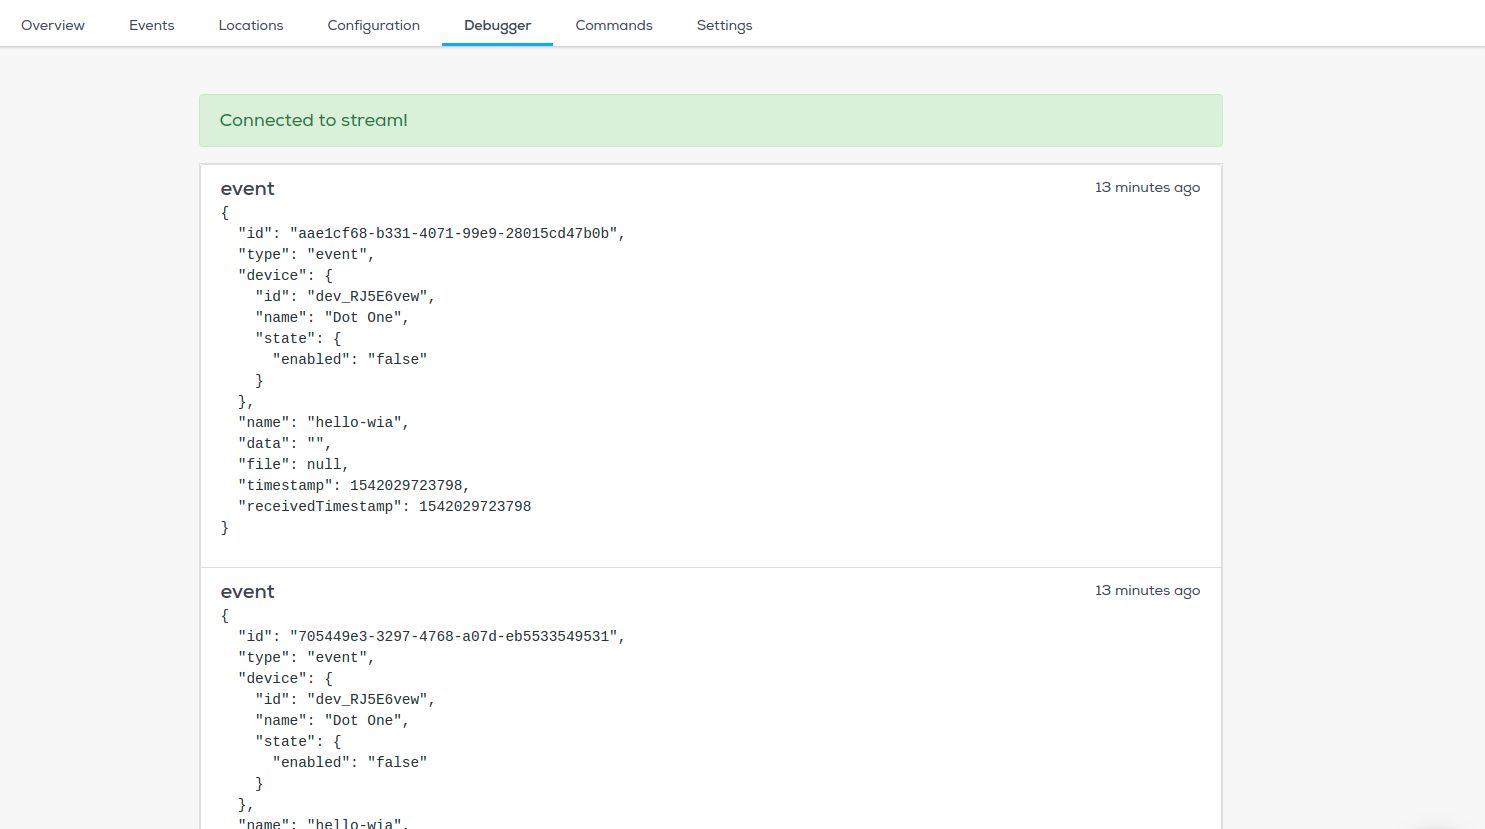
Go to your Device in your Wia Dashboard, navigate to the Debugger, and you'll see the events coming in!
Debugging
For debugging, you can use the Particle Serial Monitor. In Terminal, type particle serial monitor, and you will see a log of the response data.