Follow our WiPy tutorial here.
Components
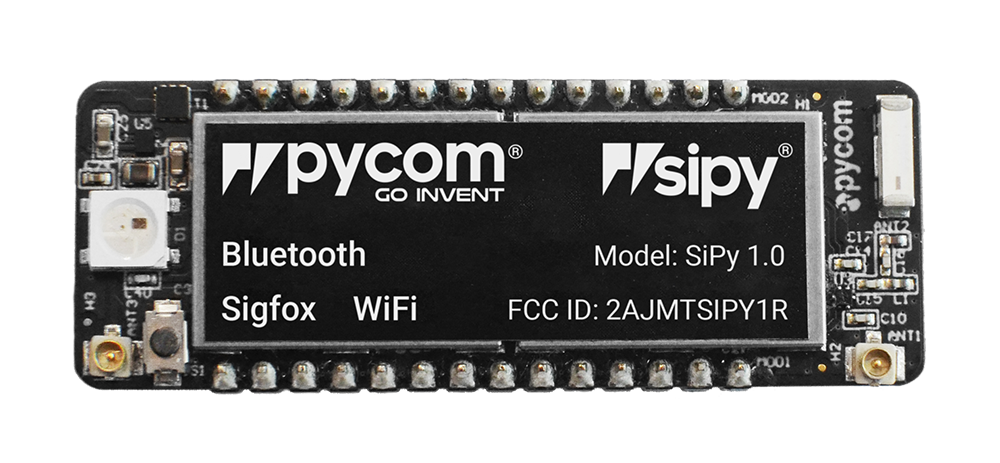
Pycom SiPy
Sigfox antenna
Setup Your Development Environment
We'll be using Atom as our development environment. You can download the latest version from here. Once you've got it setup, install the Pymakr plugin. Follow the steps in this tutorial to get it setup.
Connect to the Board
There are two ways to connect your board to your computer. You can do so either via the USB port on the Expansion Board or Pysense/Pytrack boards (more on that here).
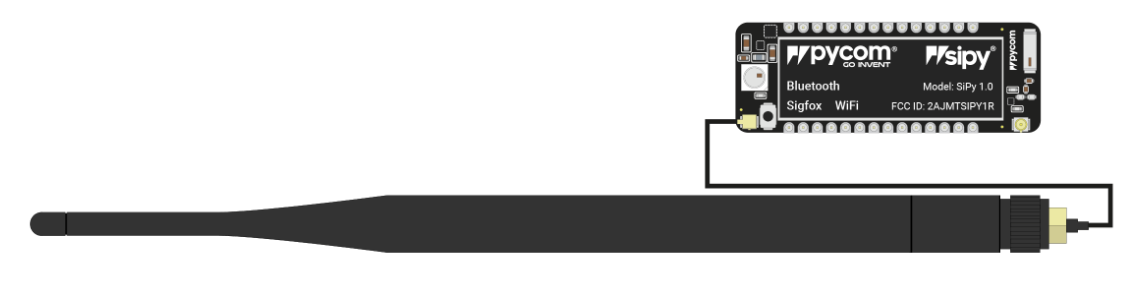
Alternatively you can communicate with the board via a USB to TTL cable. Connect the following pins:
SiPy | USB TTL |
|---|---|
GND | GND |
TX0 | RX |
RX0 | TX |
3.3V | VCC |
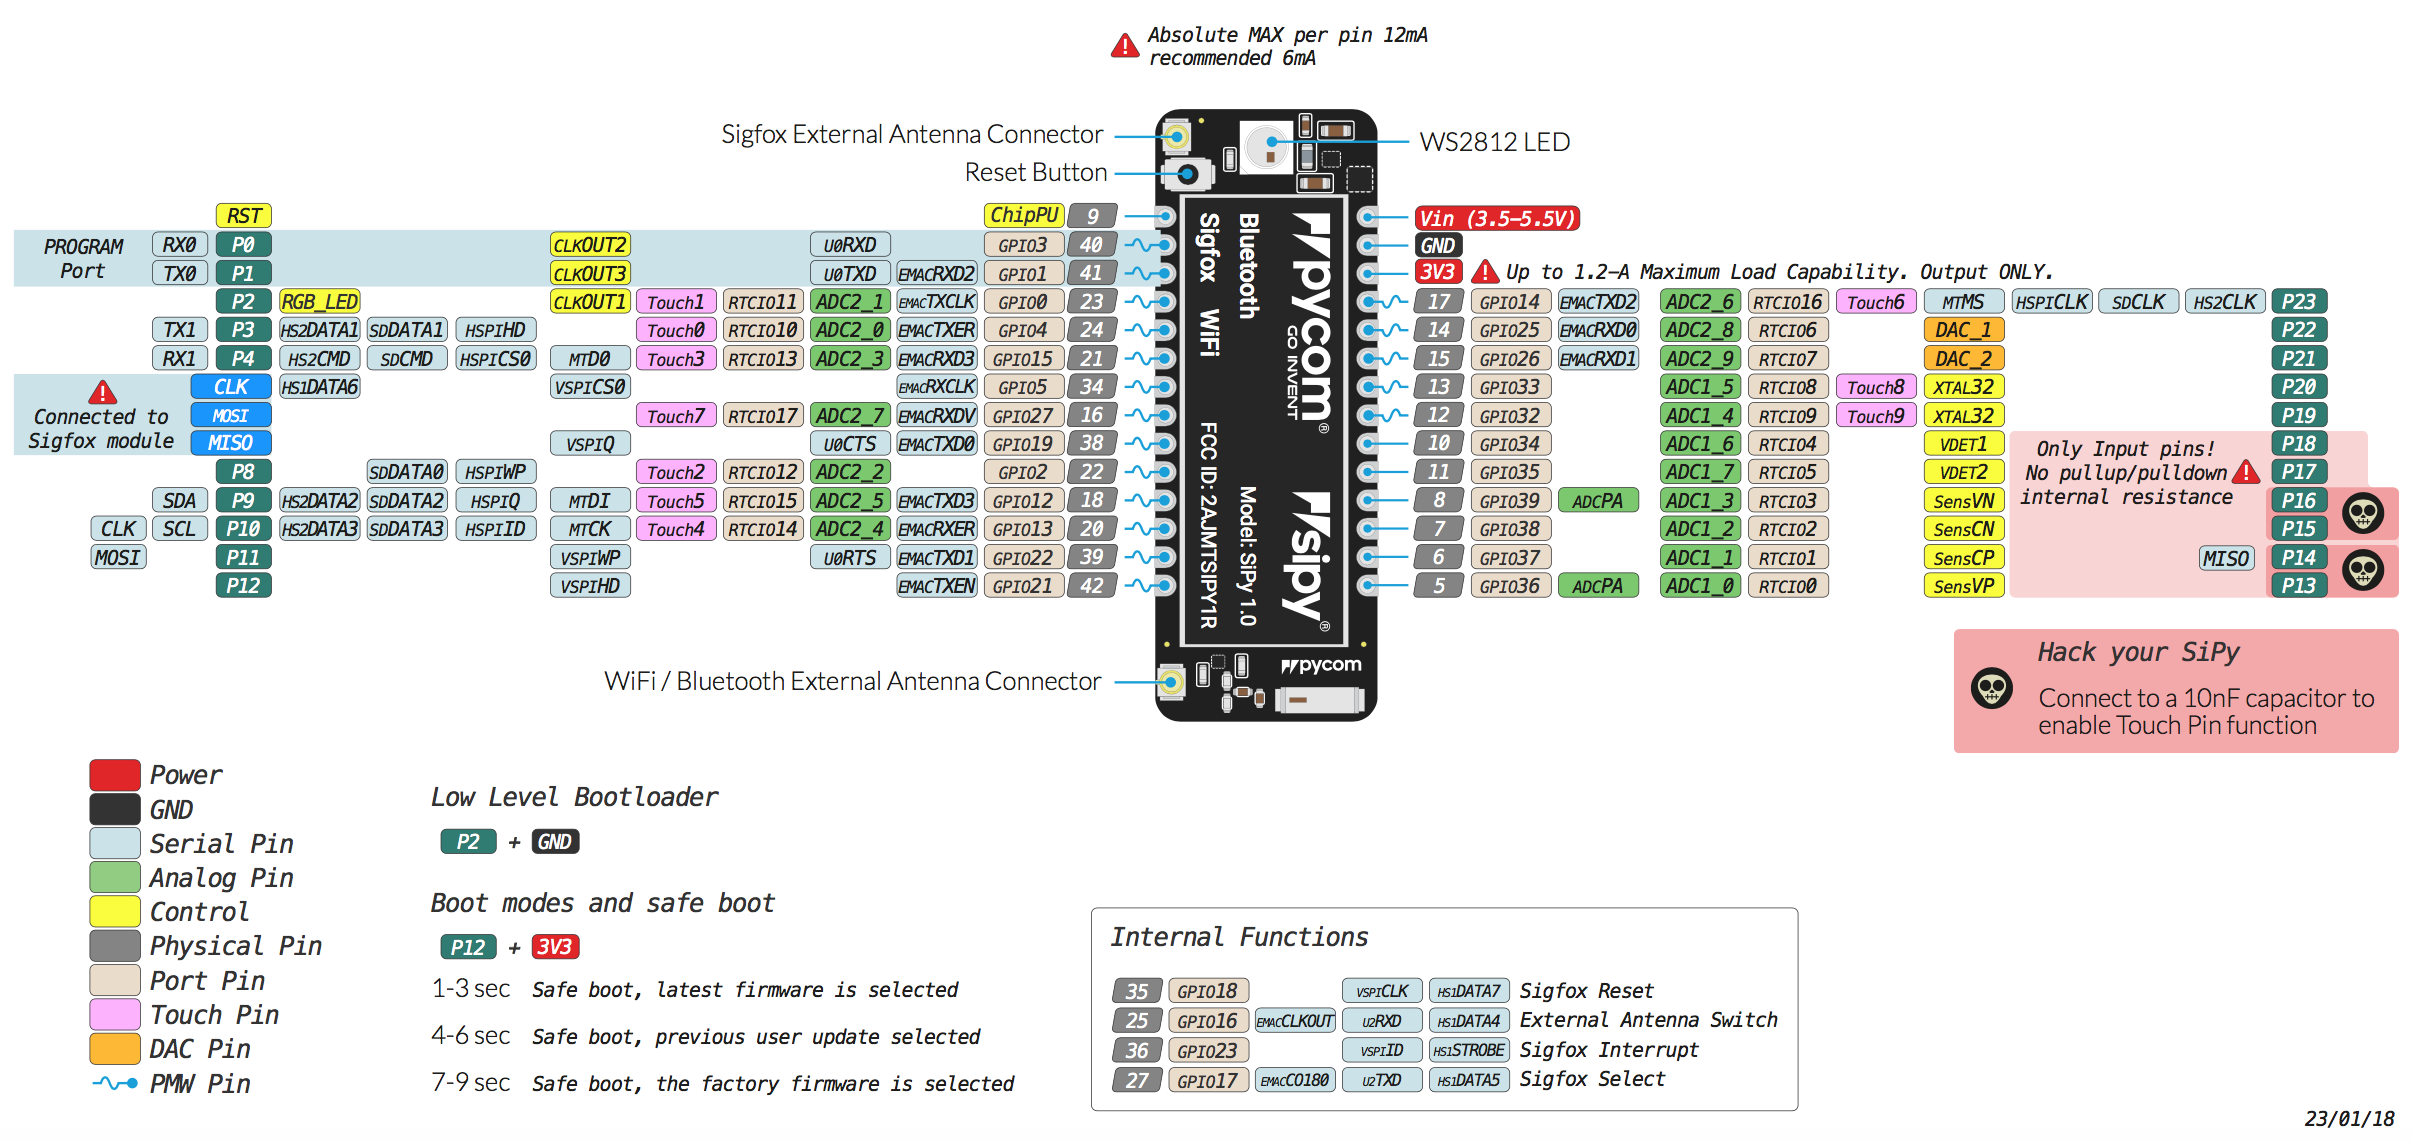
Ensure your external antenna is connected before attempting to send Sigfox messages. If you do not do this, you can risk damaging your dev board
The connection is the small gold circle on the bottom left of the SiPy board. Simply snap the antenna in place.
Preparing the USB serial port
Once you've got it connected to your computer, you'll need to make sure the correct serial port is available.
Linux and Mac OS X
Download and install the FTDI drivers from here. Select the appropriate version for your operating system and architecture.
For Linux, you may need to run the two commands below. Once you've completed that, reboot your computer. This will add permissions that will allow you to upload a sketch to the board.
sudo usermod -a -G tty ${USER} sudo usermod -a -G dialout ${USER}
Windows
Download and install the FTDI drivers from here. Select the appropriate version for your operating system and architecture.
Open the Windows start menu and search for
Device ManagerThe COM port for the Pycom device will be listed as
USB Serial Deviceor something similarKeep note of the COM port (e.g. COM4)
Setup Your Project
Make sure you have the latest version of the Pymakr plugin!
Create a new folder for your project
In Atom, go to
File > New Windowto open a new windowAdd your newly created folder by clicking
File > Add Project Folderand navigating to itIf the Pymakr plugin is not open at the bottom of your Atom window, click on the arrow on the right hand side to open it
In the Pymakr console at the bottom, click 'More' in the top right menu, then click 'Get serial ports'. This will copy the name of the correct serial port to your clipboard.
Select
Settings > ProjectSettings. In theaddressfield replace the value with the contents of your clipboard e.g./dev/tty.usbmodemPy343431(/Mac OS X), /dev/ttyACM0 (LInux),COM3(Windows) then save the file.
Retrieve your Device ID and PAC number
To ensure the Device is provisioned with Device ID and PAC number, please update to the latest firmware. This should be completed if your Device has not been used before. You can find the latest firmware update tool and steps here
Remember to save the Device Id and PAC number. When you have updated the firmware as you'll need them to register the Device with Sigfox.
Registering with Sigfox
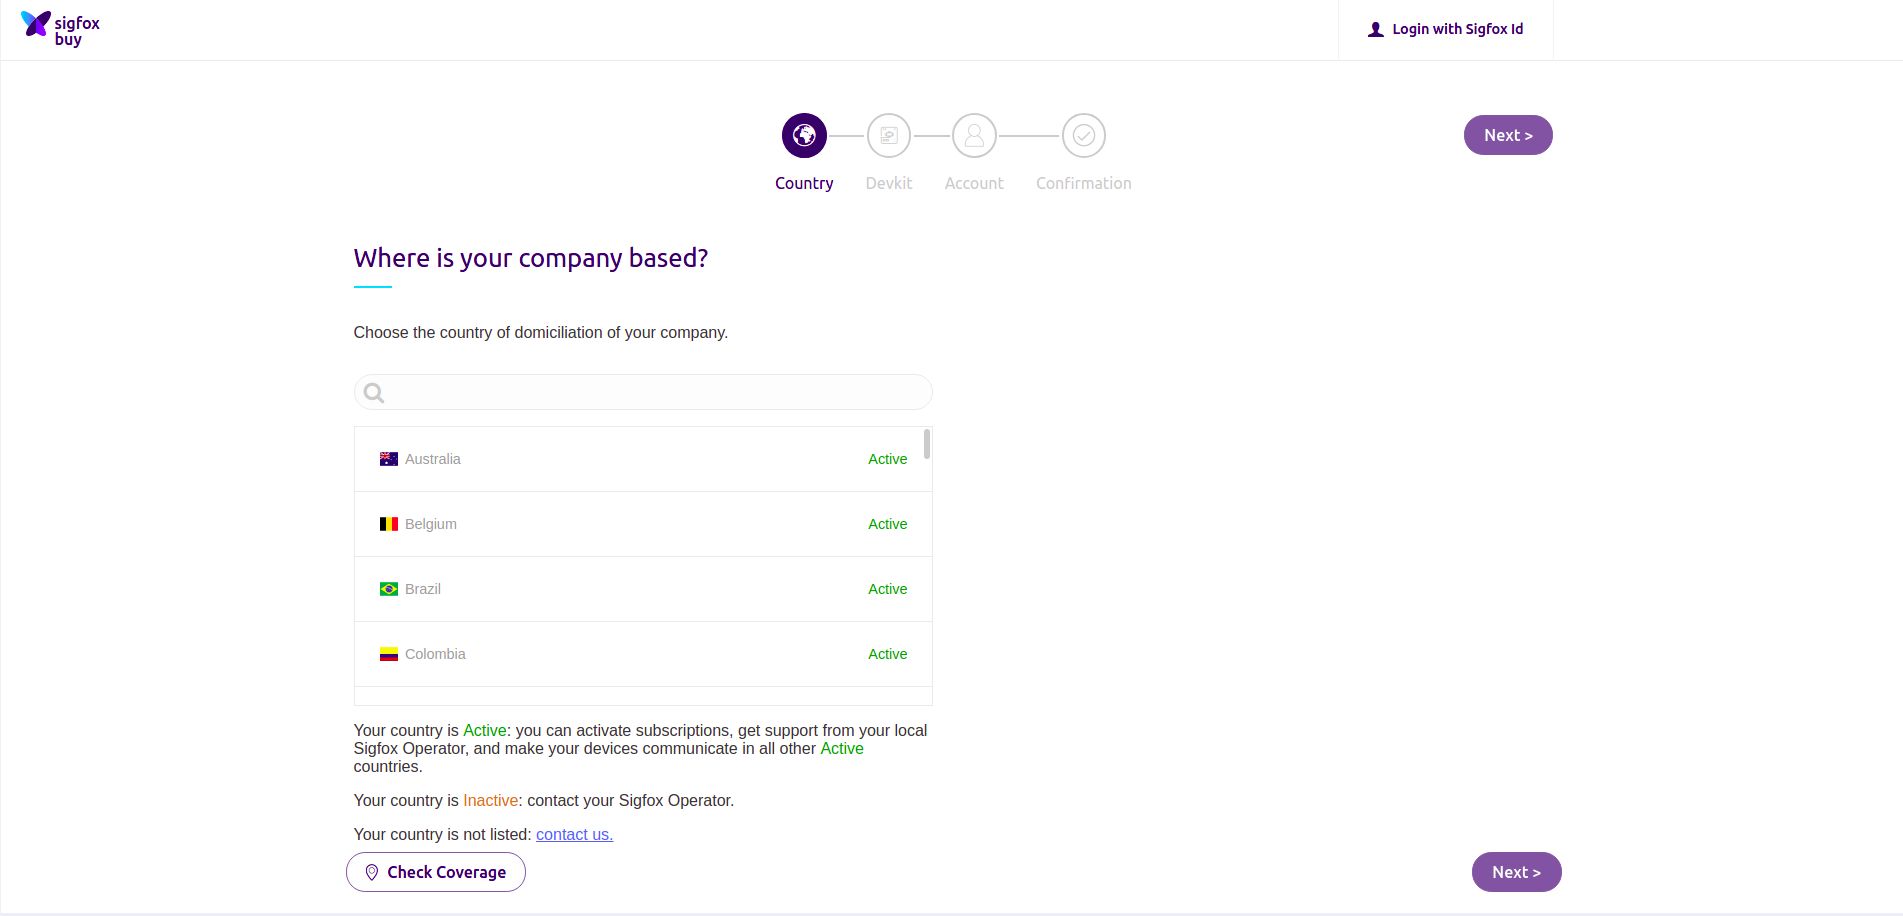
In order to send a Sigfox message, the device needs to register with the Sigfox Backend. Navigate here to complete the registration process.
First choose your country from the Search bar as shown below.
Click Next
Enter the
Device IdandPACnumber obtained earlierAdd a description of the project you attend on using the Sigfox Device for
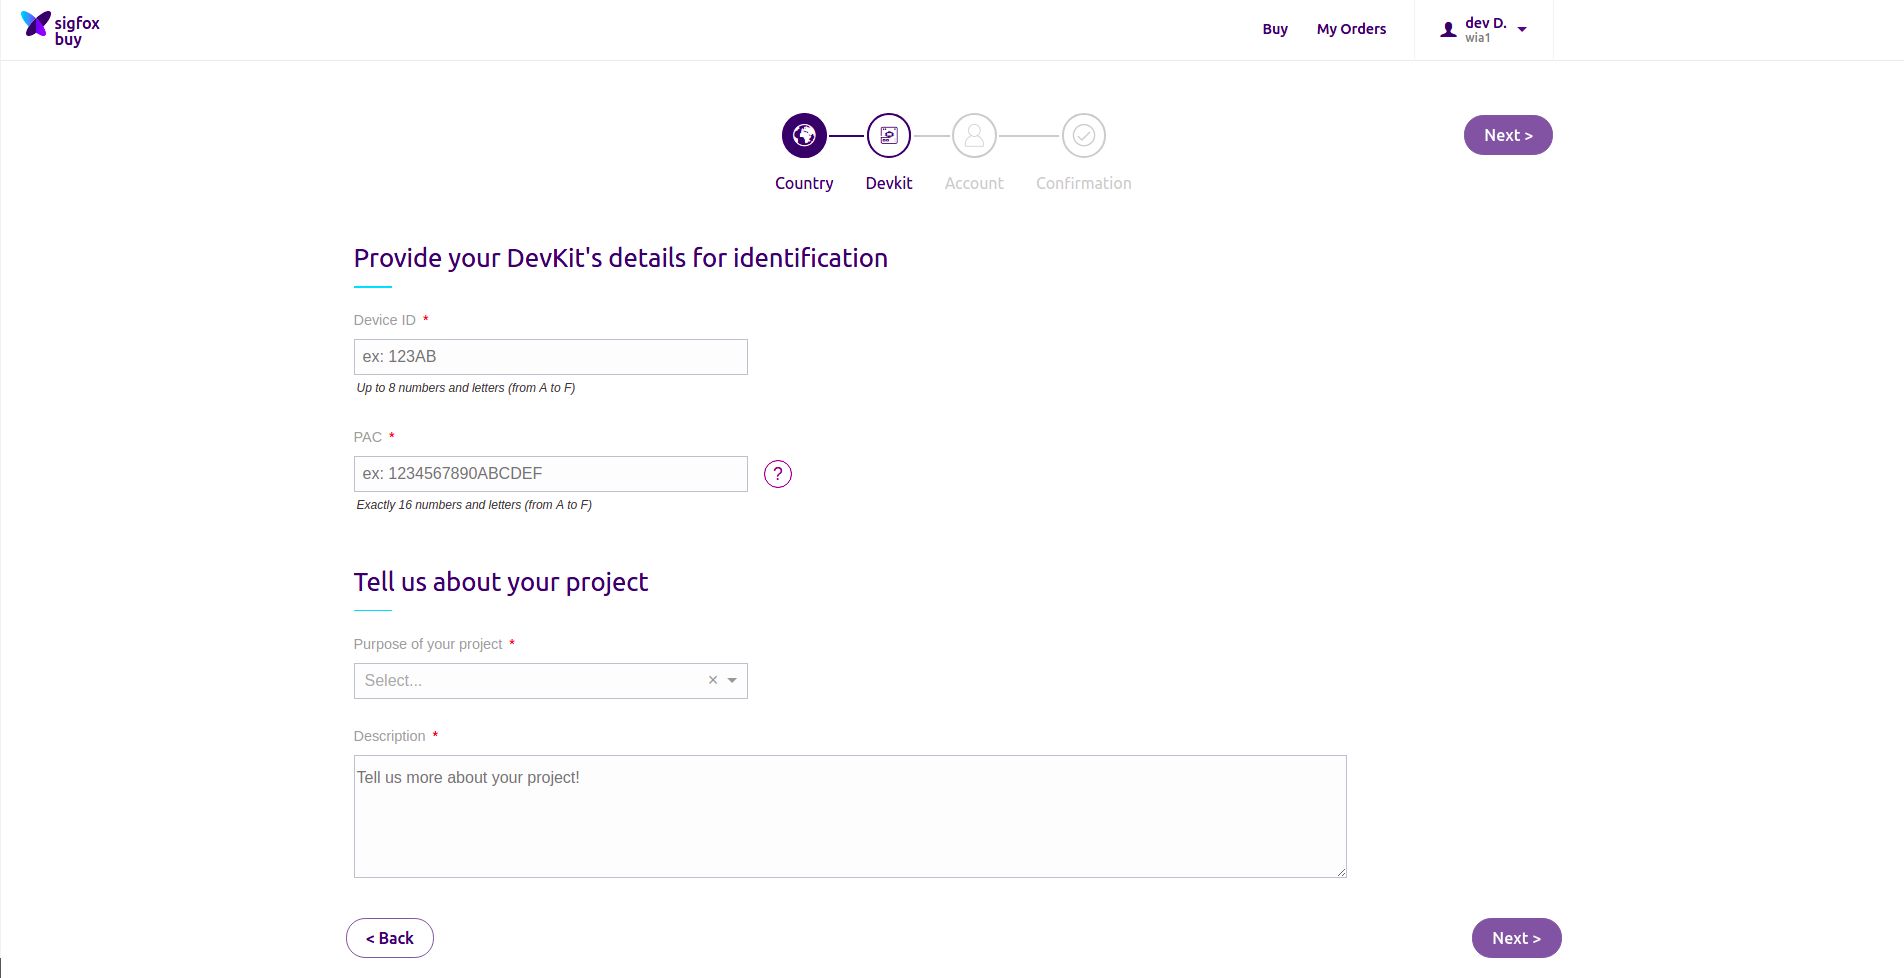
Add the
Device IDandPACnumber obtained from the code earlier and place them into the corresponding fields belowClick
nextto register your deviceIf you haven't already, sign up with Sigfox then you will be taking back
Sending Your First Sigfox Message
Create a new file, name it
boot.pyCopy and paste the code below
In Atom, right click on your project and click
New File. Entermain.pyas the filenameCopy and paste the code below into the file
Ensure your external antenna is connected before attempting to run the code. If you do not do this, you can risk damaging your device!
Go to
Packages > Pymakr > Toggle Pycom ConsoleClick
Uploadin the Pymakr plugin at the bottom of your window in Atom and send the code to your Pycom board
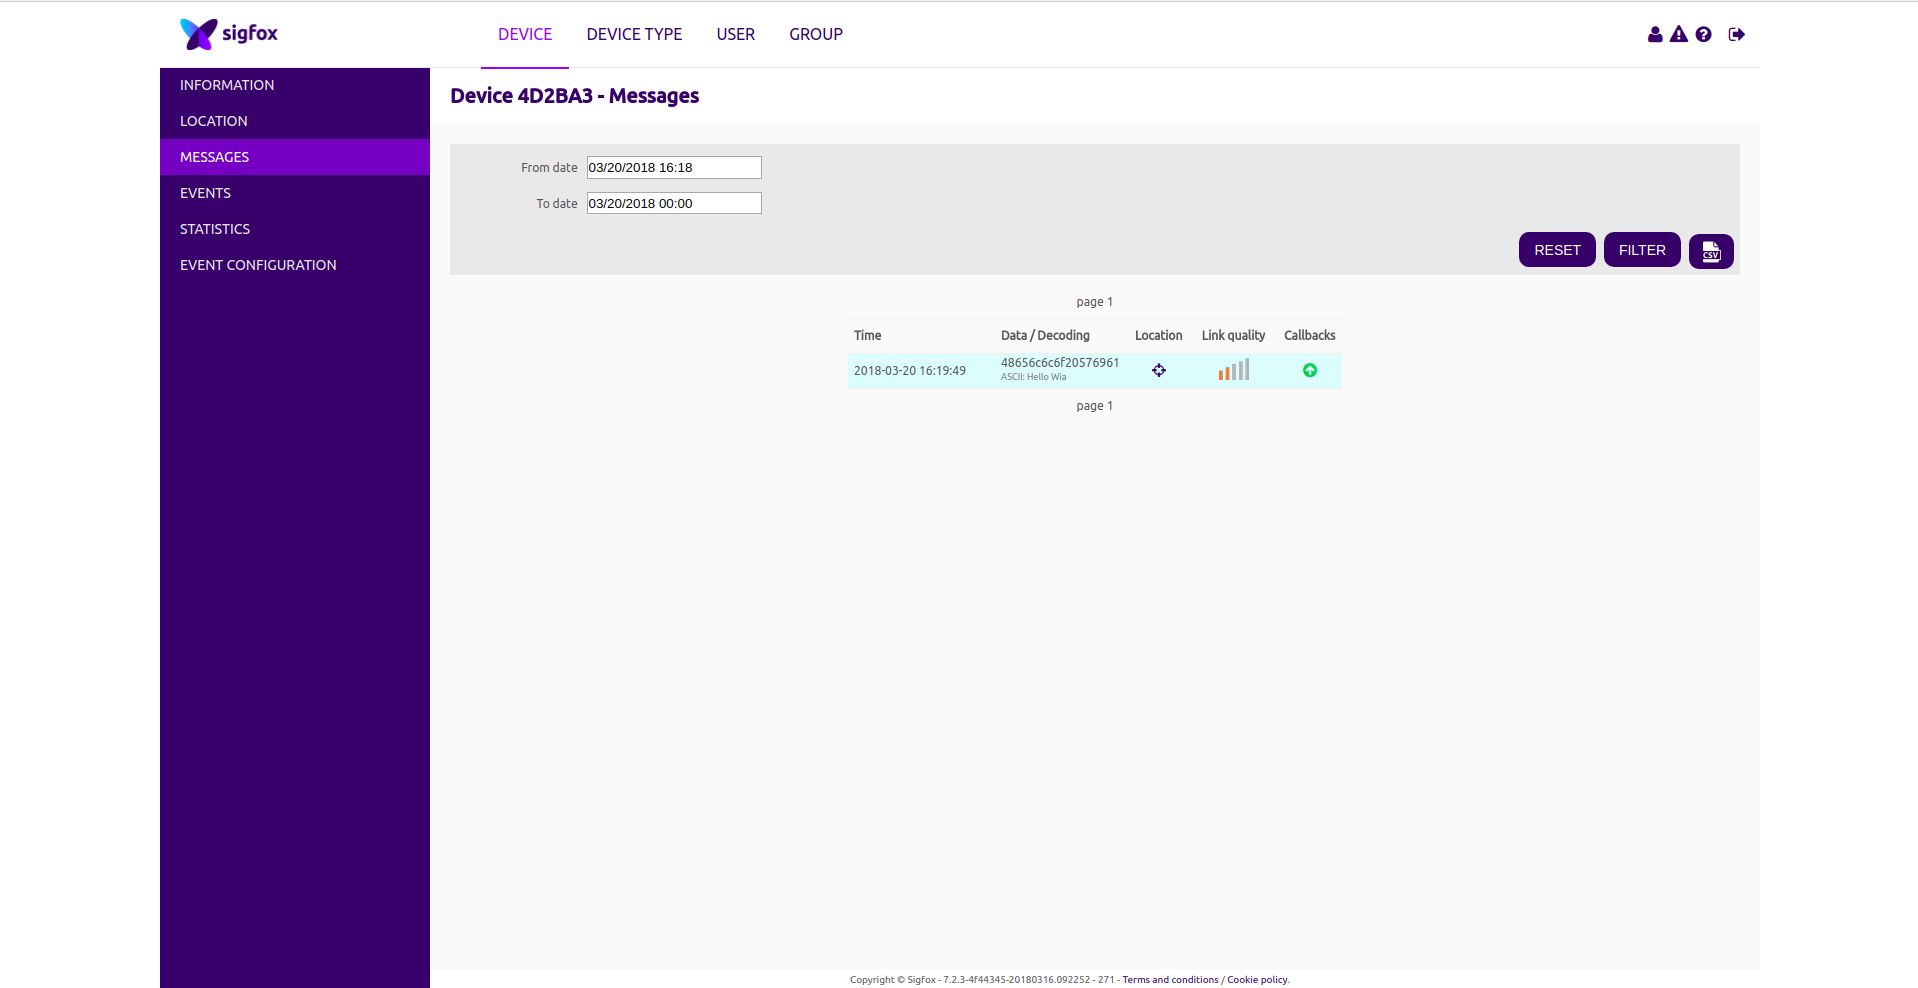
View your message in the Sigfox dashboard
Go to the Sigfox dashboard, found here
On your Sigfox account, click on the
Devicetab, click on yourDevice IDand clickMessages
Connecting Sigfox with Wia
First, Sigfox must be integrated with Wia to see your Sigfox messages in Wia. The tutorial can be accessed here
Receiving the message on Wia
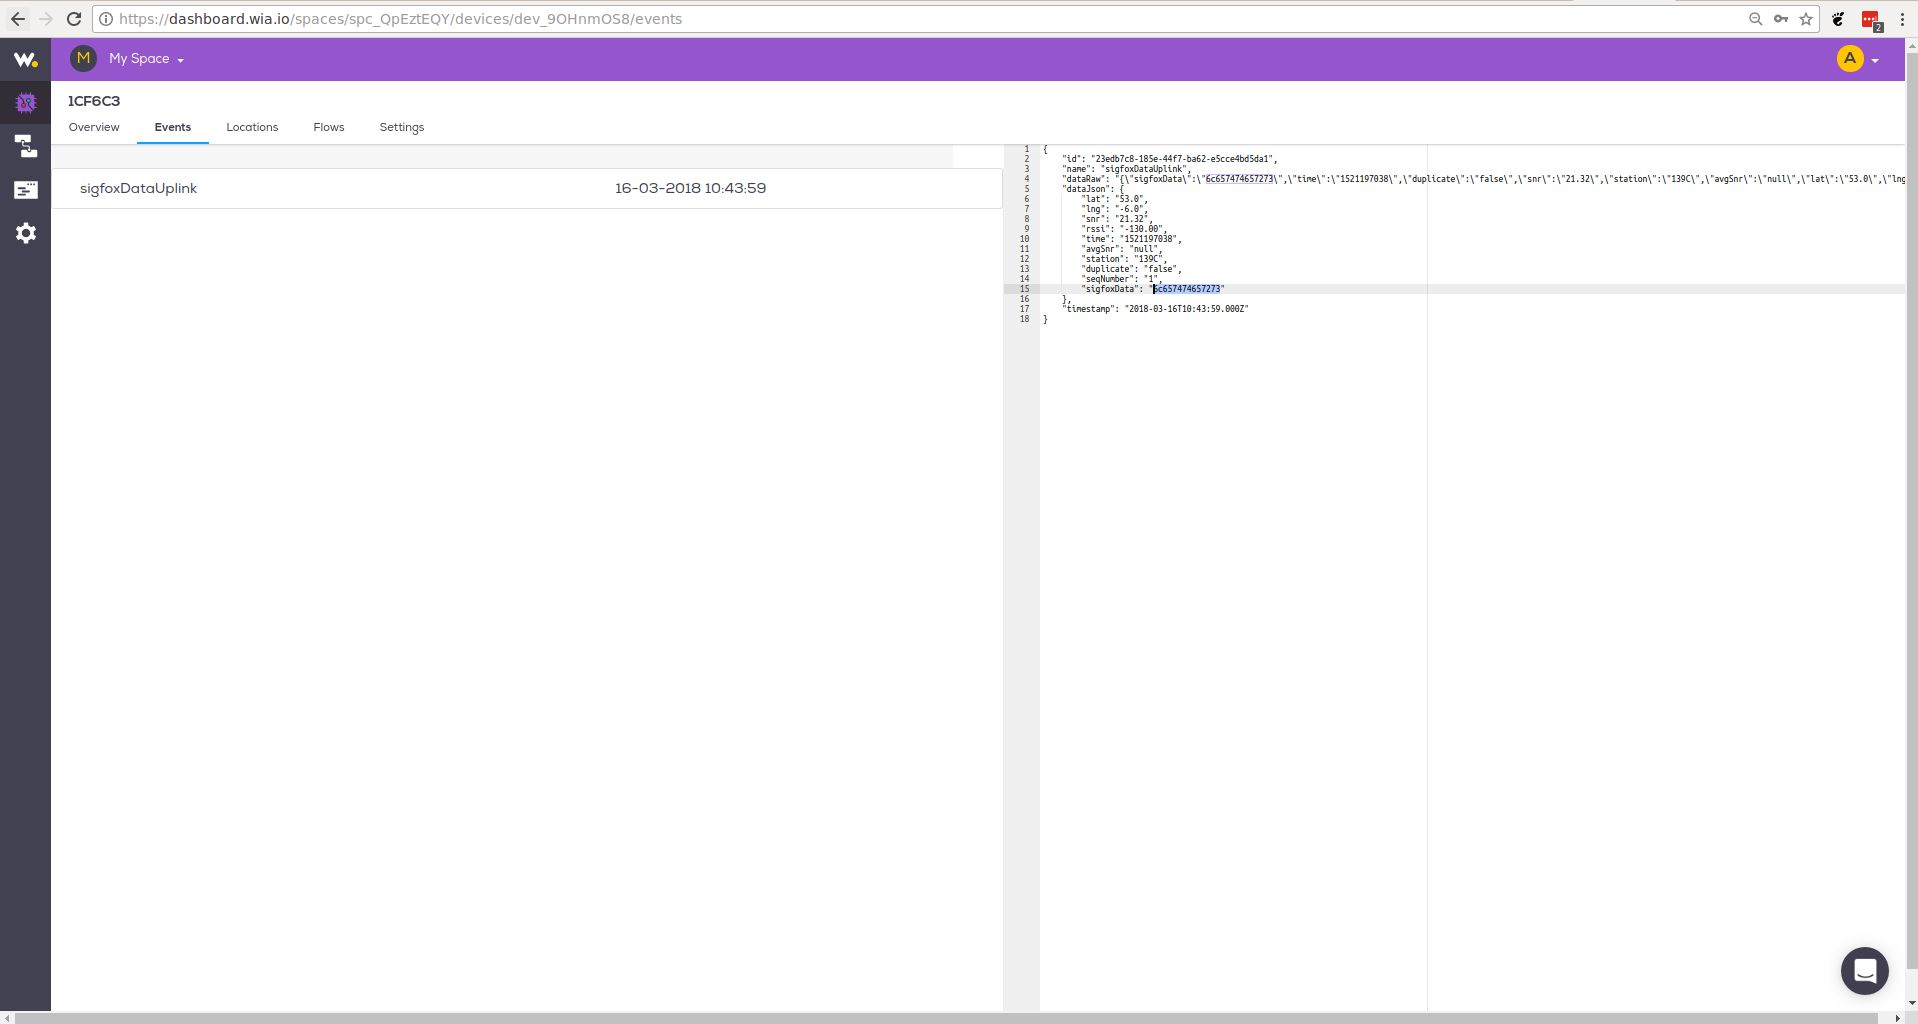
If the callback has been properly setup between Sigfox and Wia, when you send a message to Sigfox. it should also be displayed in Wia
Go to your Space that has your Sigfox integration
Click on Device that matches the Sigfox device on the Sigfox website
Click on the events tab and the Sigfox messages should be displayed
Troubleshooting
If your board gets stuck with the message "Uploading project (main folder)...", try updating the firmware. For the development board click here. For additional firmware for the Pysense/Pytrack board click here.