Setup Your Environment
Install the Arduino IDE (Integrated development environment). This is where You can download it for Mac OS X, Windows and Linux here.
Detailed instructions can be found below:
If you are completely unfamiliar with the Arduino IDE, watch this video <a href="https://www.youtube.com/watch?v=nbD_V4QtNvY" target="_blank">here</a> to give you a better understanding of how it works.
Start the Arduino application and open
PreferencesEnter
http://arduino.esp8266.com/stable/package_esp8266com_index.jsoninto the Additional Board Manager URLs. If you need more than one, they can be separated with commas

Go to
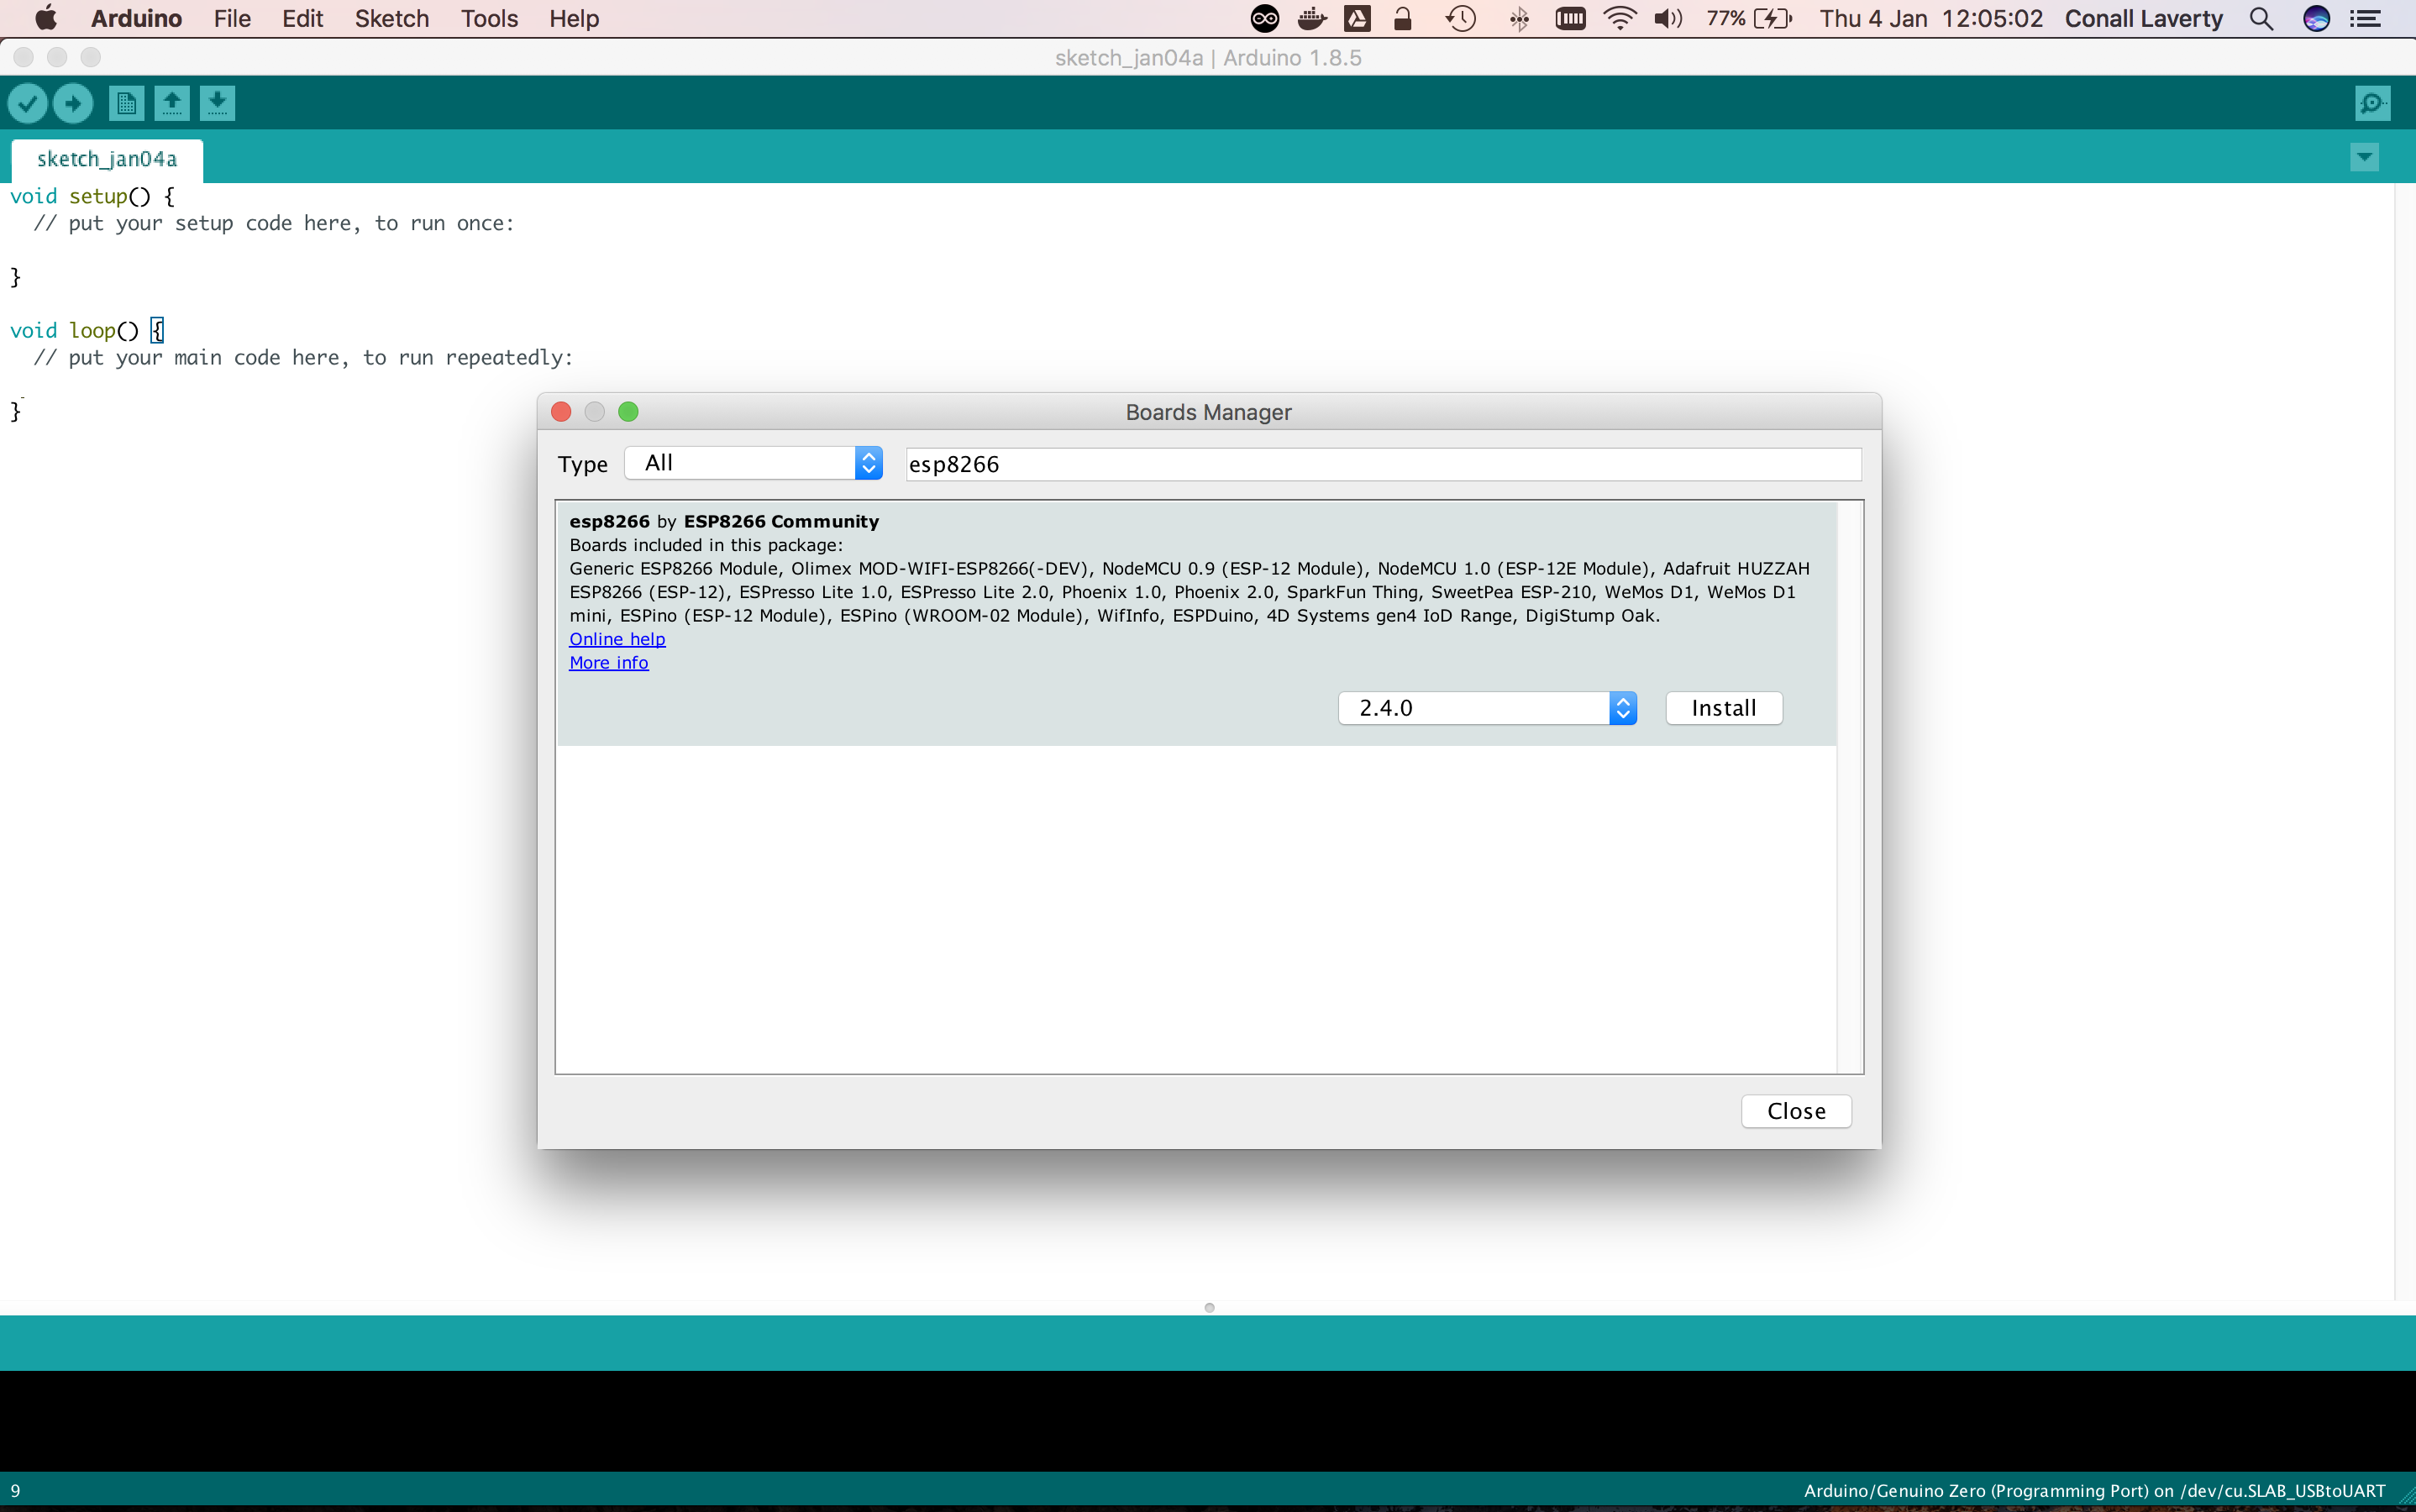
Tools > Board > Boards ManagerSearch for
esp8266. When found, clickInstall
Select your ESP8266 board type by going to
Tools > Board, then choosing your type. For this example, you can useWemos D1 mini ProCheck that
Upload Speedis set to115200Select the correct port for the board
For the ESP 8266, the port names tend to have unusual names, e.g: On Mac OS: /dev/tty.usb.modem8232 or /dev/cu.SLAB_USB_toUART On Windows: Com4 or Com3 On Linux /dev/ttyUSB0 or /dev/ttyACM0

If your port is not showing up, you need to install USB to UART Bridge VCP drivers. To do so, go here, then download and install the drivers for your operating system. After installing the drivers, restart the Arduino IDE.
Note for Mac users
You may need to install the driver twice for it to work, as the first install will just remove the existing driver.
Charge-only USB cables
Another cause of the port not showing up could be the USB cable - make sure that the cable you're using is not a charge-only cable, and that it isn't faulty.
Create the Sketch
Click on
File > Newto create a new SketchCopy and paste the publish event example code below. You can also view it on GitHub here. In that directly you will see how to publish both Events and Locations
Replace the values of the following variables:
your-ssid- with your WiFi network name.your-password- with your WiFi network password.your-device-secret-keywith your device secret key from the Wia Dashboard (the one that begins withd_sk).Go to
Sketch > Uploadto send it to your ESP8266.
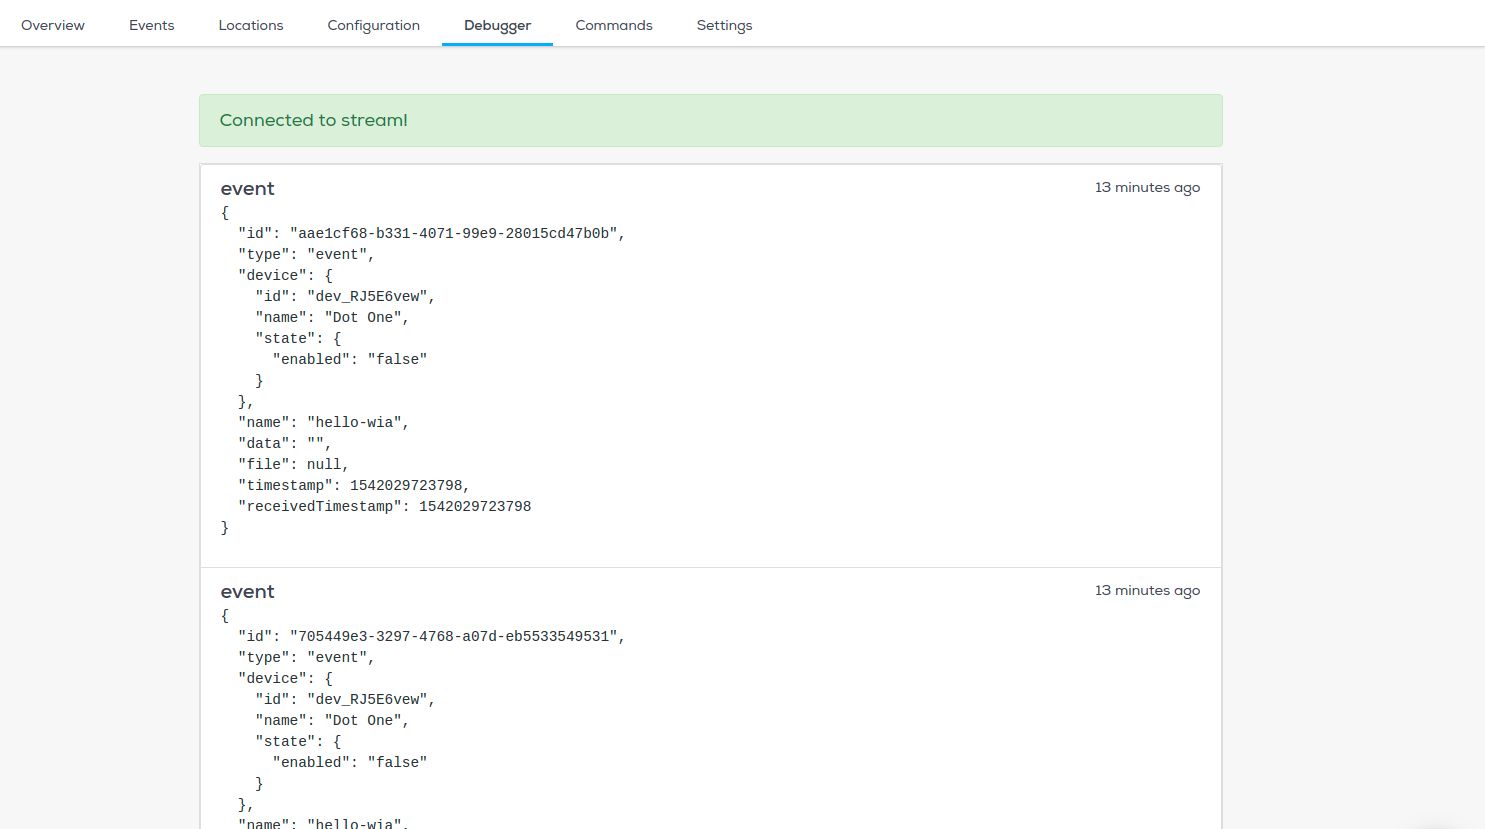
Now go to your device in the Wia dashboard and you should see the data appearing in the debugger.
Common errors
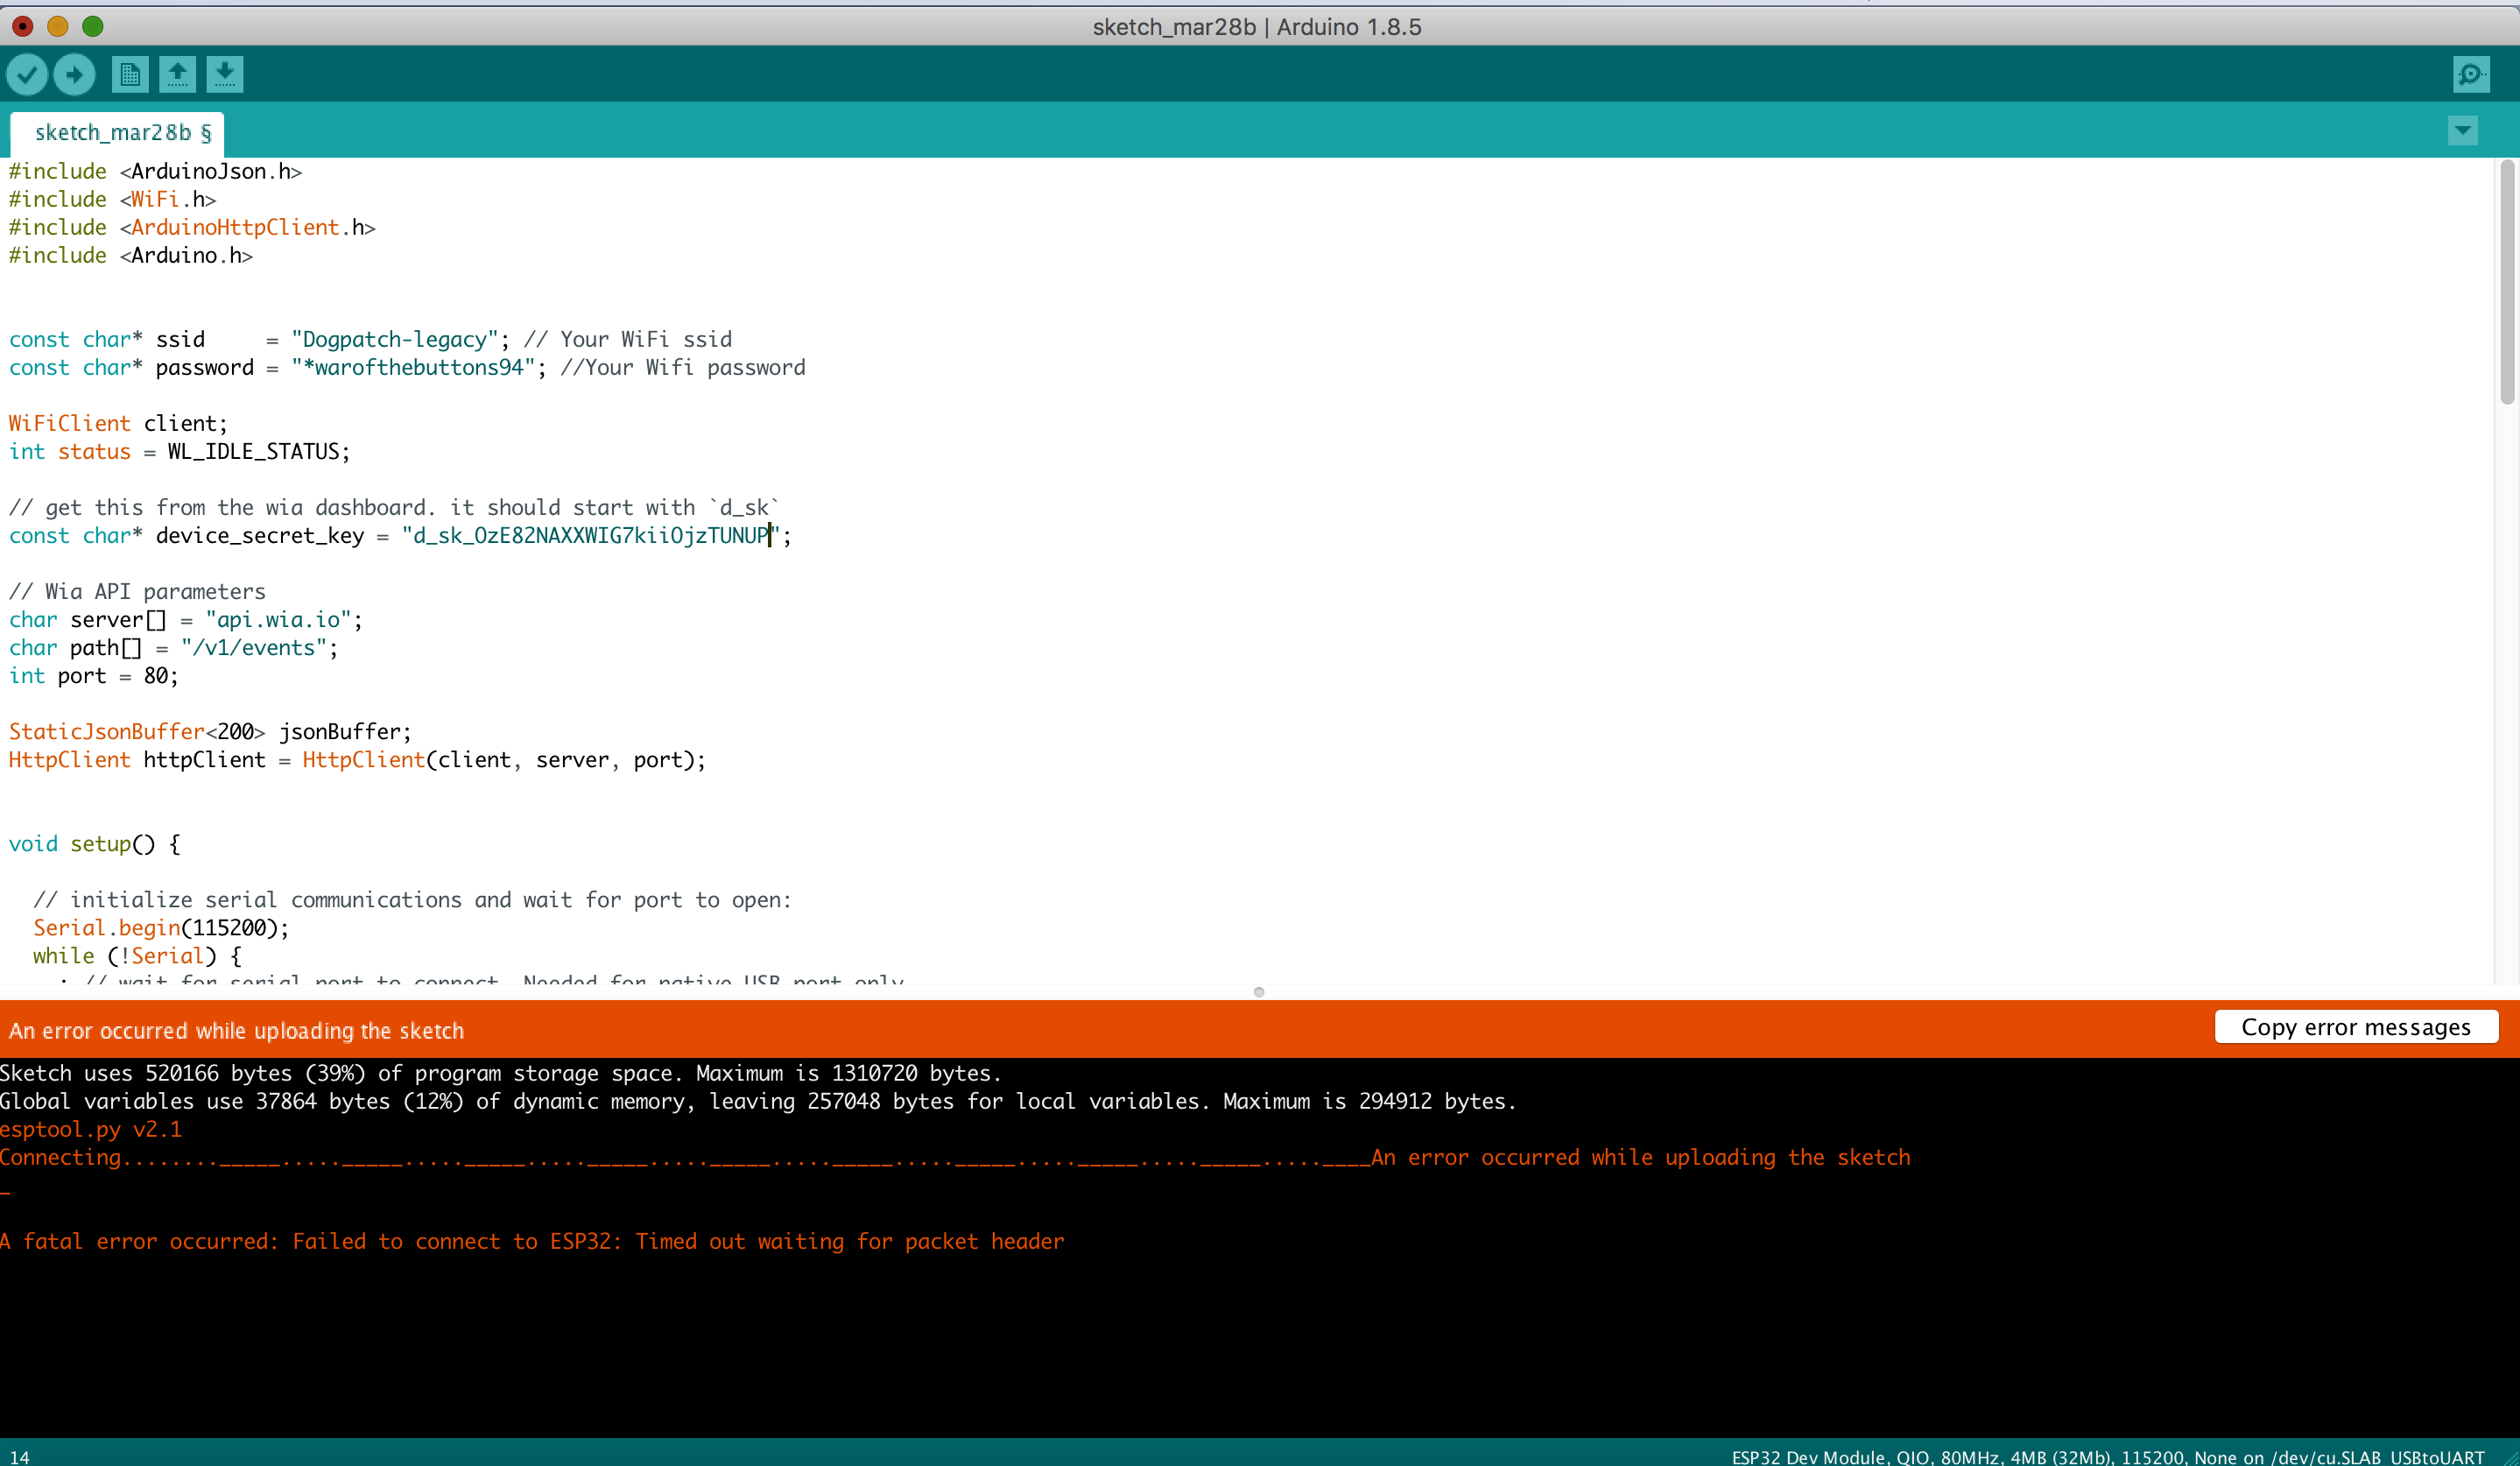
If you encounter an error like the one denoted in the image below, check if your board and port are correctly set in the Tools menu