
Components
Components to complete this tutorial are the following:
- MKR GSM 1400
- Antenna
- SIM card
- Micro USB to USB cable
Both the antenna and SIM card must be attached to the board.
Requirements
- Your chosen SIM card must have access to the internet
Setup Your Environment
- Install the Arduino IDE (Integrated development environment). This is where You can download it for Mac OS X, Windows and Linux here.
Detailed instructions can be found below:
- Installing the Arduino IDE for Windows
- Installing the Arduino IDE for Mac
- Installing the Arduino IDE for Linux
If you are completely unfamiliar with the Arduino IDE, watch this video here to give you a better understanding of how it works.
In the Arduino IDE:
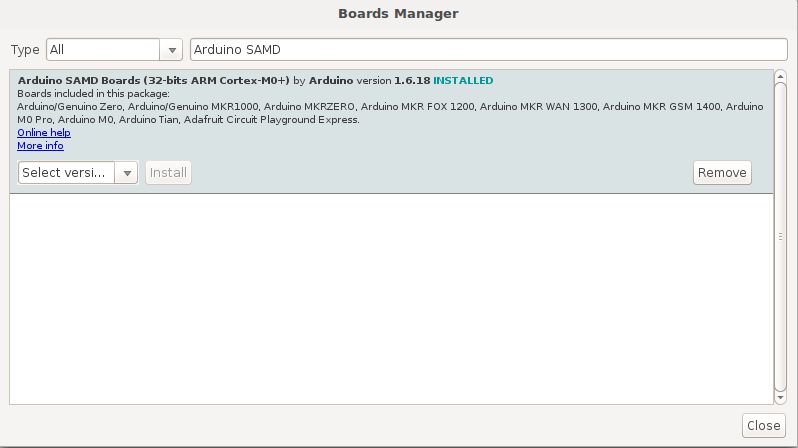
- Go to menu:
Tools > Board > Boards Manager - Search for
Arduino SAMD. When found, clickInstall
Install the required libraries
To complete the tutorial, additional libraries of functionality are required, these can be installed through the Arduino IDE in the following way:
In the Arduino IDE:
- Go to
Sketch > Include Libraries > Manage Libraries
In the search bar, search for the below libraries. When found, click on the library and a button will appear in the bottom right of the box that will allow you to install the library.
- MKRGSM
- ArduinoHttpClient
- ArduinoJson
Select board and port
In the Arduino IDE:
- Select your MKR GSM 1400 board type by going to
Tools > Board - Select the port that displays
MKR GSM 1400If no name is displayed, you can find the port with the following steps:
Linux and Mac OS X
- Download and install the FTDI drivers from here. Select the appropriate version for your operating system and architecture.
- Open a terminal window and run the command
ls /dev/tty* - Look for a device with the name that begins with
/dev/ttye.g./dev/tty.usbmodemPy343431on MAC or/dev/ttyUSB0/dev/ttyACM0on Linux.
For Linux, you may need to run the two commands below. Once you've completed that, reboot your computer. This will add permissions that will allow you to upload a sketch to the board.
sudo usermod -a -G tty ${USER}
sudo usermod -a -G dialout ${USER}
Windows
- Download and install the FTDI drivers from here. Select the appropriate version for your operating system and architecture.
- Open the Windows start menu and search for
Device Manager - The COM port for the Pycom device will be listed as
USB Serial Deviceor something similar - Keep note of the COM port (e.g. COM4)
Create a new Sketch
- Click on
File > Newto create a new Sketch - Copy and paste the publishEvent.ino or publishLocation.ino from the example code below
xxxxxxxxxx // PIN Numberconst char PINNUMBER[] = ""; //blank if no pin// APN data: check settings on mobile for sim provider or contact carrier for network settingsconst char GPRS_APN[] = "";const char GPRS_LOGIN[] = "";const char GPRS_PASSWORD[] = ""; // get this from the wia dashboard. it should start with `d_sk`const char* device_secret_key = "your-device-seccret-key"; GSMClient client;GPRS gprs;GSM gsmAccess; // Wia API parameterschar server[] = "api.wia.io";char path[] = "/v1/events";int port = 80; StaticJsonDocument<200> jsonBuffer;HttpClient httpClient = HttpClient(client, server, port);JsonObject& root = jsonBuffer.to<JsonObject>();String response;int statusCode = 0;String dataStr;void setup() {} void loop() {} void postToWia(JsonObject& data) {}- If your SIM card has a pin, enter it in the
PINUMBERfield or else leave that field blank - To access your Access Point Name(APN), ask your network carrier for the details
- Alternatively, you can attach your SIM card to your phone, check settings for the APN of the carriernetwork
- Add the
device_secret_keywith your device secret key from the Wia Dashboard (the one that begins withd_sk) Verify/Compilethe code. If it runs correctly then go toSketch > Uploadto send it to your MKR GSM 1400
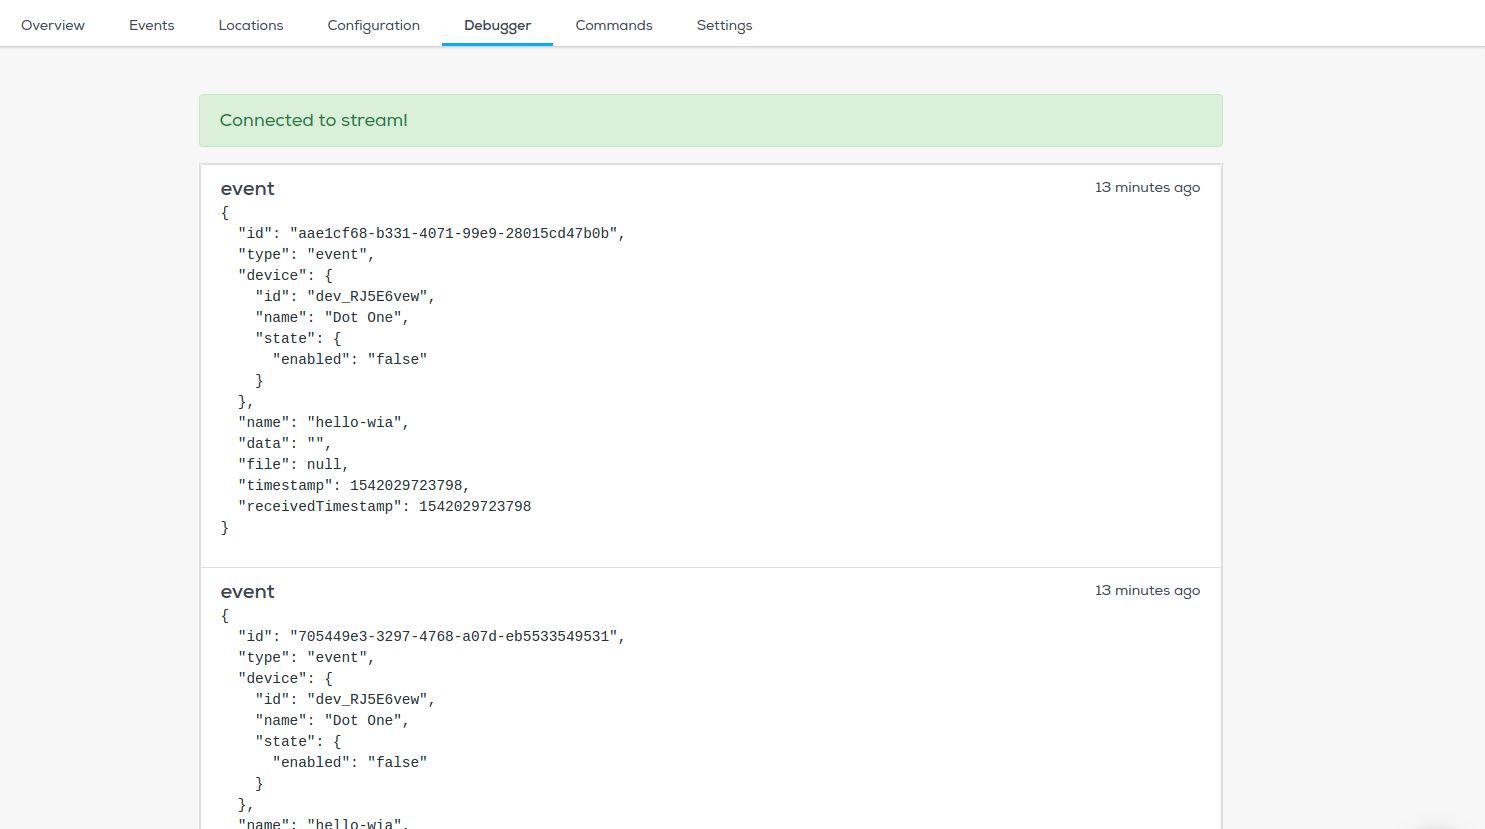
Go to the Wia dashboard to view the data coming through to your device.
If you need any help with getting setup or you don't understand the tutorial, tweet us, email support@wia.io or chat on Intercom.