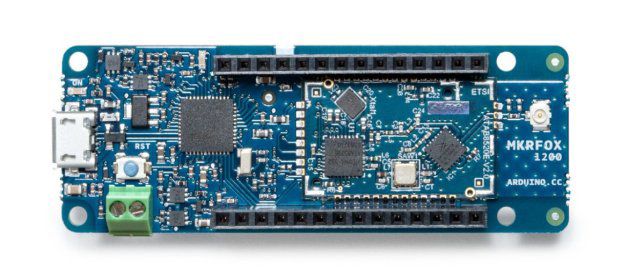
Components
Arduino MKRFox1200
Sigfox Antenna
Micro USB to USB
Setup Your Environment
If you have not already done, download and install the Arduino IDE for your chosen operating system here
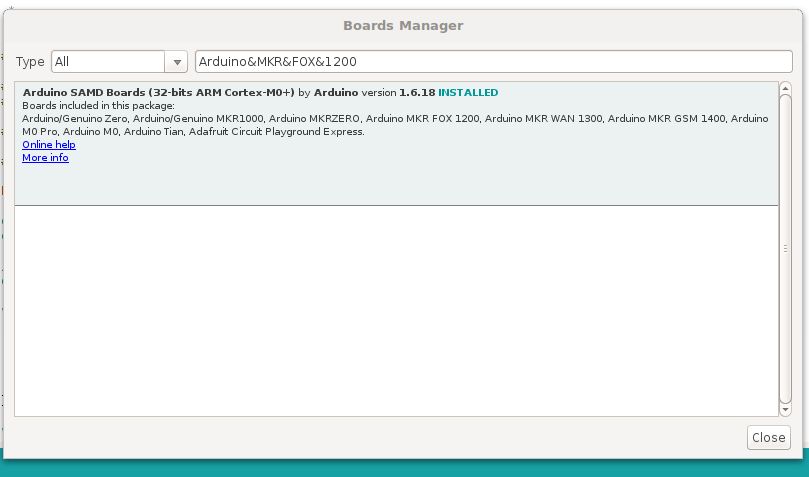
Open the IDE and go to `Tools > Boards > Board Manager
Search for the
Arduino SAMD BoardsInstall the board's core library
Connect the Board to your Computer
Using a micro USB cable, connect the micro USB port on the board to the USB port on your computer.
Install required Libraries
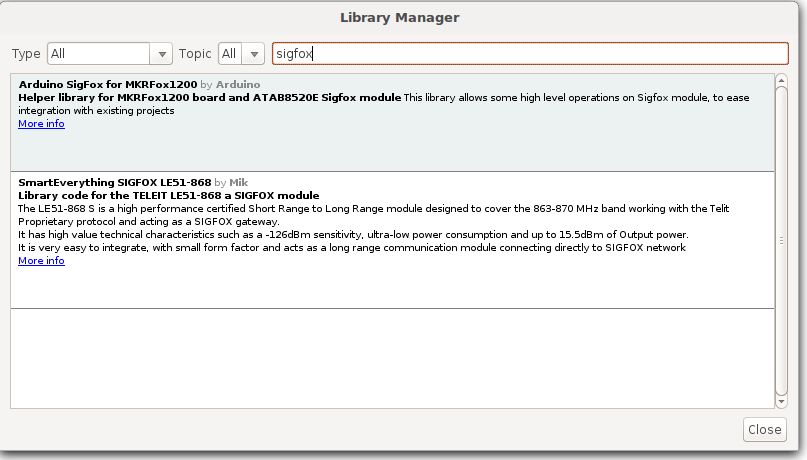
Go to
Sketch > Include Libraries > Manage LibrariesType
SigFoxinto the search bar and click the first option. A button will appear in the bottom right of the box that will allow you to install the library
Repeat install for libraries:
Arduino Low Power
RTCzero
Select Board and Port
Once you've got it connected to your computer, in the Arduino IDE, Select Tools
Select the
Arduino MRKFox1200boardSelect the correct port (Arduino MRKfox1200 should be on the port name):
If no name is displayed, you can find the port with the following steps:
Linux and Mac OS X
Download and install the FTDI drivers from here. Select the appropriate version for your operating system and architecture.
Open a terminal window and run the command
ls /dev/tty*Look for a device with the name that begins with
/dev/ttye.g./dev/tty.usbmodemPy343431on MAC or/dev/ttyUSB0/dev/ttyACM0on Linux.
For Linux, you may need to run the two commands below. Once you've completed that, reboot your computer. This will add permissions that will allow you to upload a sketch to the board.
sudo usermod -a -G tty ${USER}``sudo usermod -a -G dialout ${USER}
Windows
Download and install the FTDI drivers from here. Select the appropriate version for your operating system and architecture.
Open the Windows start menu and search for
Device ManagerThe COM port for the Pycom device will be listed as
USB Serial Deviceor something similarKeep note of the COM port (e.g. COM4)
Create a new file called sketch_sigfox_init.ino and add the code below.
The code above just waits until the Serial has begun. This makes sure Sigfox is connected and prints the Device ID and PAC number of the Device.
Upload Code to the Board
Click Sketch > Upload to upload the code to your Device to retrieve the ID and PAC number of the device.
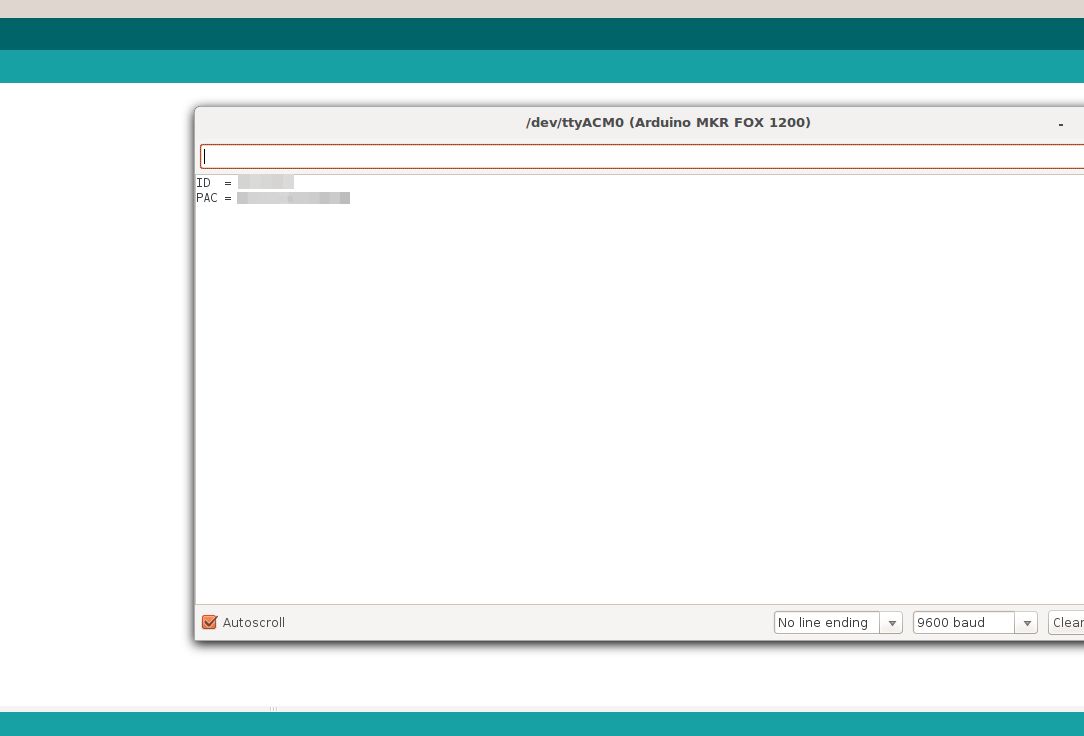
View the Serial Monitor
Click the
Screen MonitorIcon on the right hand sideIn the monitor, it should display the ID and PAC for the device
Register Device with Sigfox
Click here to register the Device with Sigfox
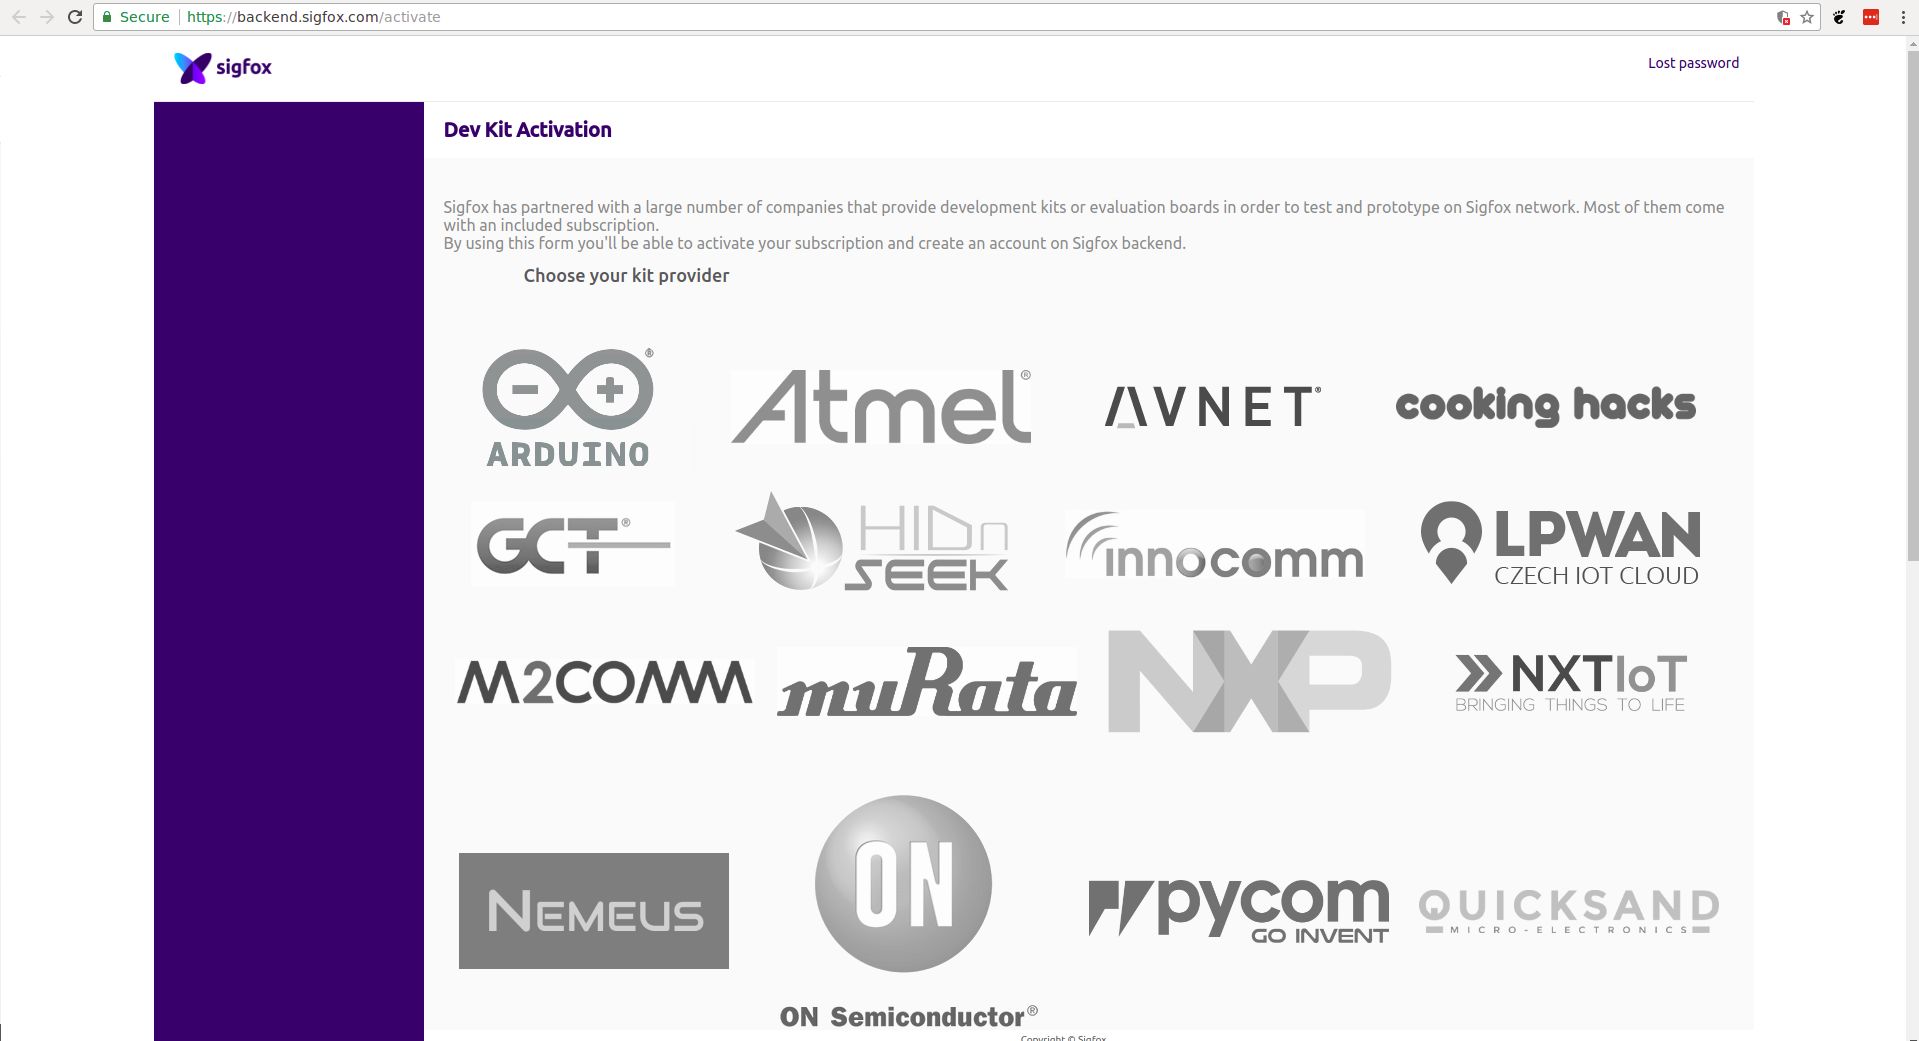
Choose the provider
Arduinofrom the listThen, choose the appropriate country
Enter Device information
*Enter the ID and PAC of your device into Sigfox
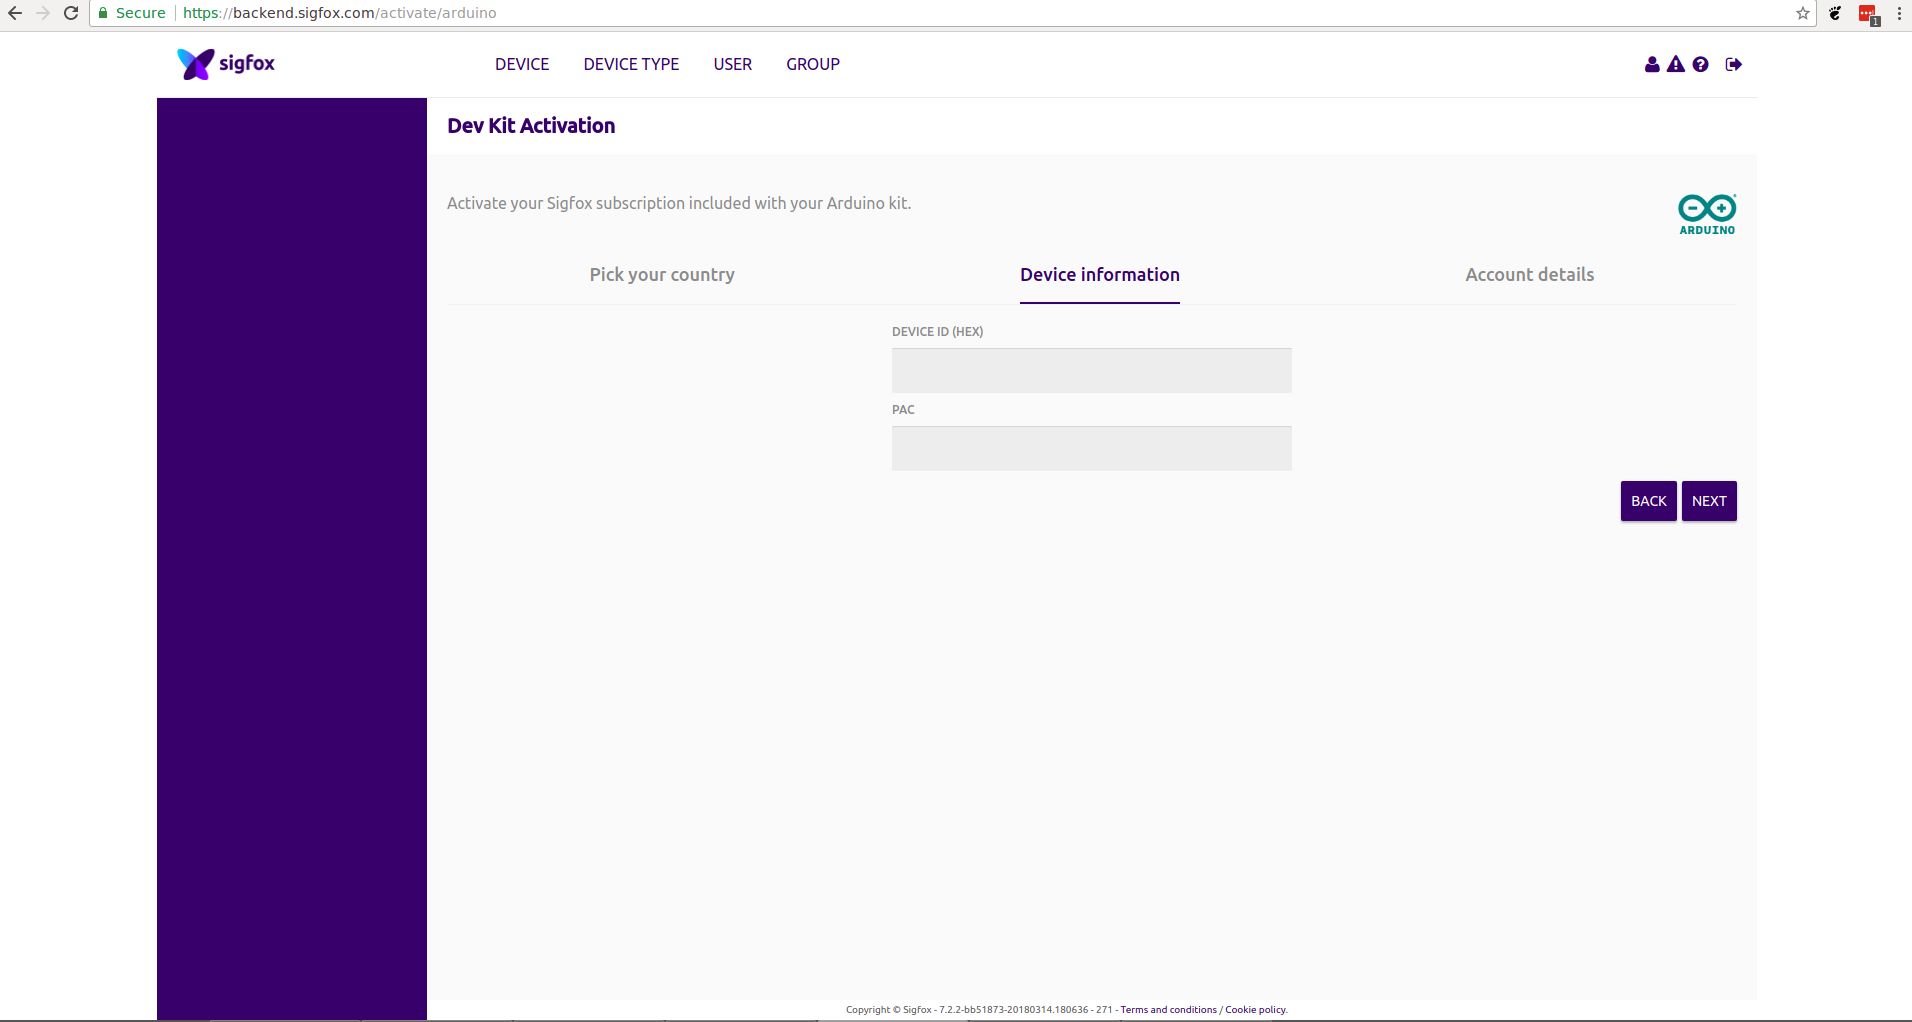
Once entered, you must sign in or sign up to a Sigfox account to view your Device on the Sigfox Dashboard.
The Code
Create a new file called sketch_sigfox.ino and add the code below.
Make sure that
Tools > Boards is set to
Arduino MRKfox1200Tools > Port is set to the port of the board
SigFox.beginPacket()&SigFox.endPacket()are the wrappers for the payloadThe data is placed between the wrappers and has a max size of
12 BytesStrings will be converted to hexadecimal
Upload the Code
Click
Sketch > Uploadto upload the code for MRKfox1200You can view the output from the serial monitor on the right of the screen
Receiving the Message on Sigfox dashboard
Go to the Sigfox dashboard, the link is here
On your Sigfox account, click on the
Devicetab, click on yourDevice IDand clickMessages
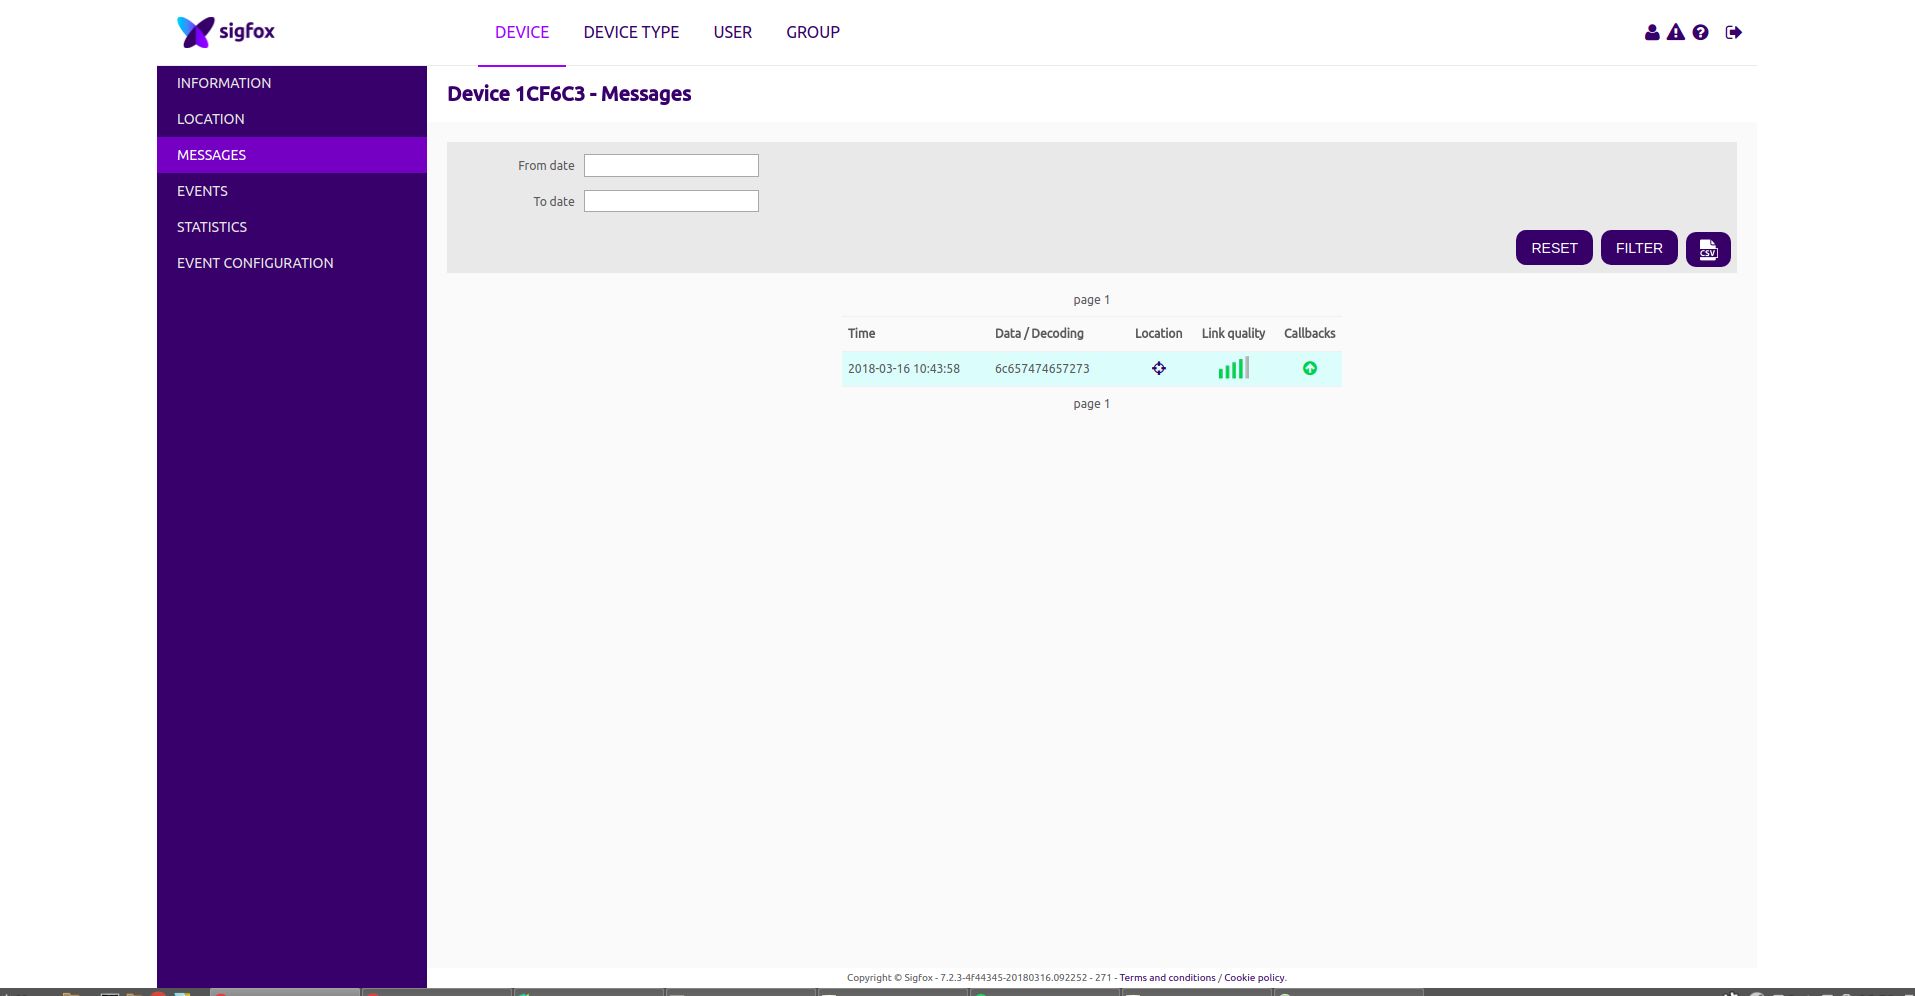
The payload will be displayed in
hexadecimalConvert to ASCII to view your message
Connecting Sigfox with Wia
First, Sigfox must be integrated with Wia to see your Sigfox messages in Wia. The tutorial can be accessed here
Receiving the message on Wia
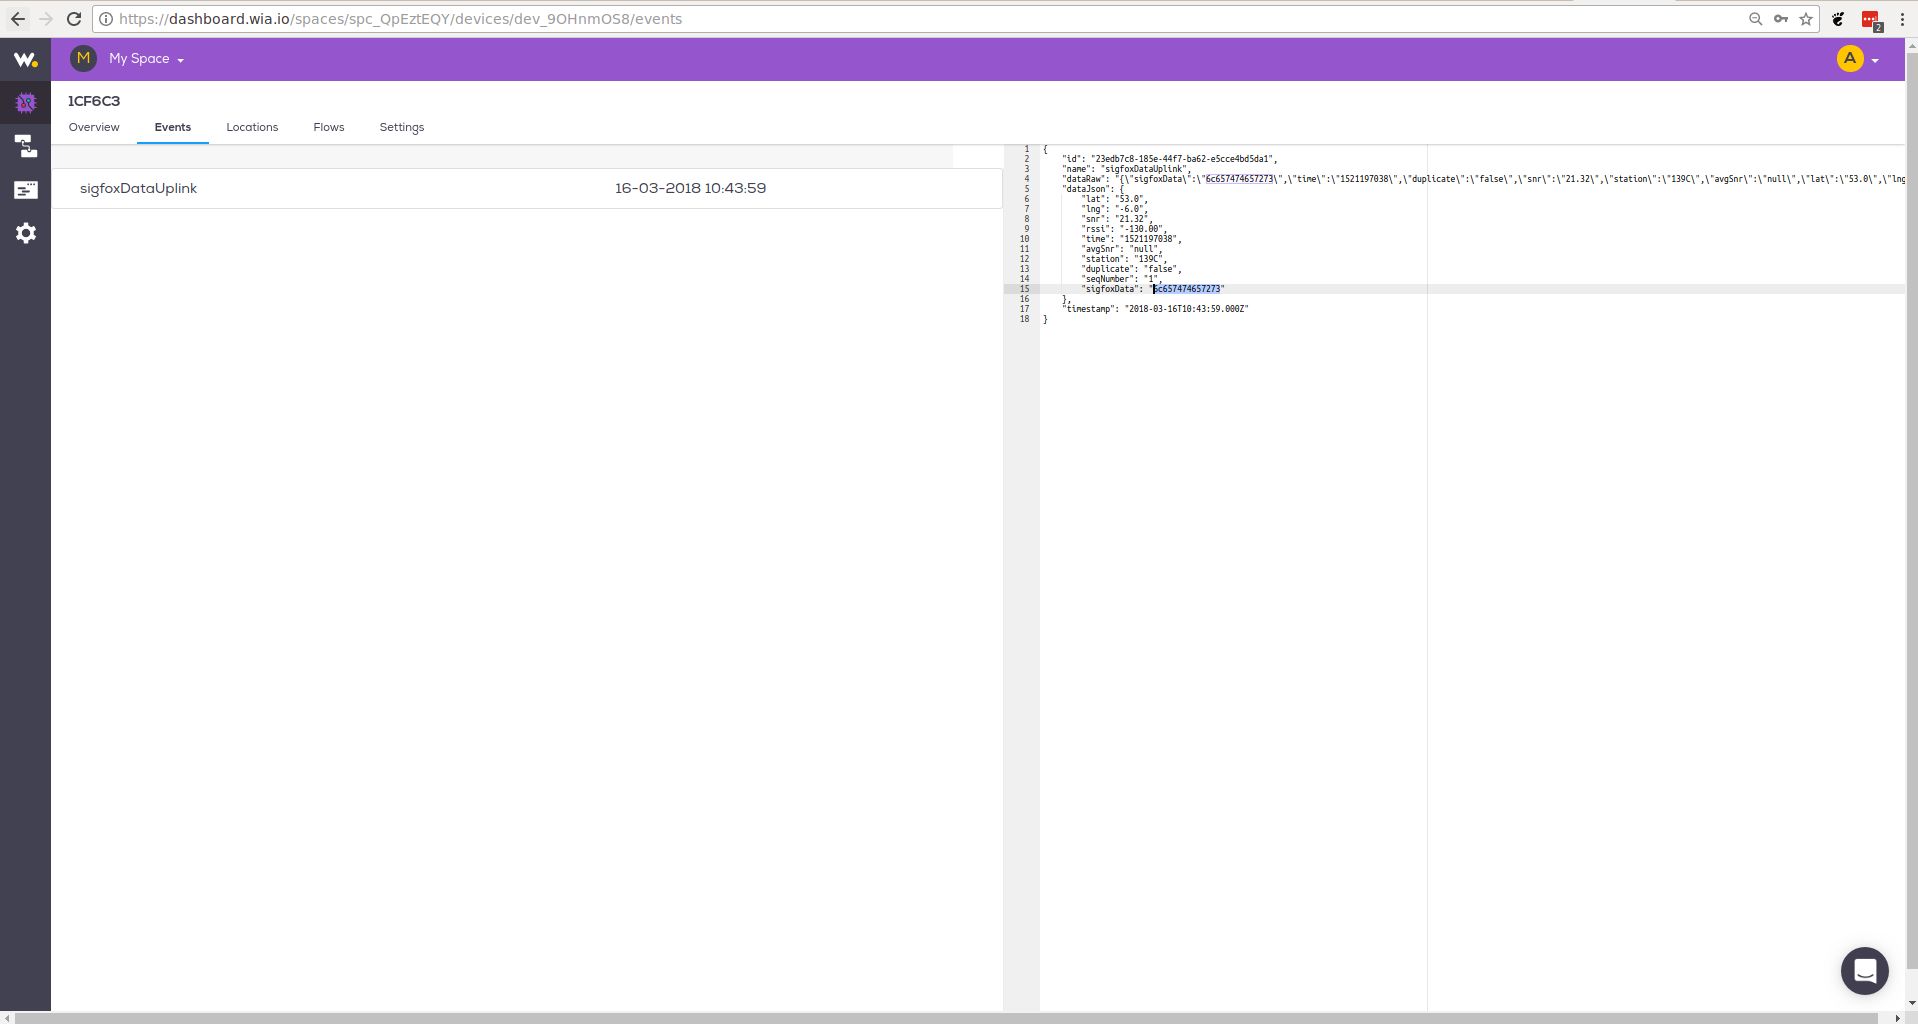
If the callback has been properly setup between Sigfox and Wia, the message should also be displayed in Wia
Go to your Space that has your Sigfox integration
Click on Device that matches the Sigfox device on the Sigfox website
Click on the events tab and Sigfox message should be displayed
If you need any help with getting setup or you don't understand the tutorial, tweet us, email support@wia.io or chat on Intercom.